⚠️ This article relates to SwipedOn Desks which is a separate platform to our SwipedOn Visitor Management Software. SwipedOn Spaces and Resource Booking have their own help centre articles
Our interactive map feature enables admin users to manage desks within your environment, with bookable and non-bookable desks. From a users perspective, they can interact by clicking to view, book or reserve a desk on-the-go and in advance.
How to add a floor plan
-
Sign into SwipedOn Desks as an administrator.
-
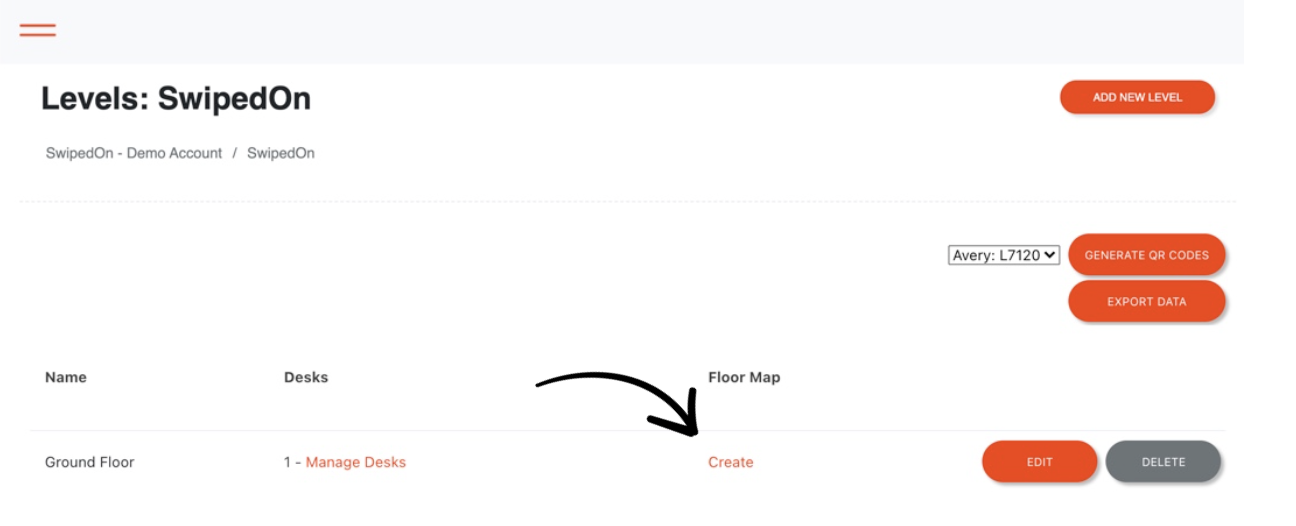
Click 'View' on the location you wish to add a floor plan to.
-
Click 'Create' to add your floor plan to your level.
-
Upload your image -
-
Click Upload Image
-
'New Image'
-
Set image in the frame provided
-
'Done'
-
* Please note: your image size needs to be a maximum of 1.5MB or less before uploading, for optimal customer experience.
-
On the left hand side menu, use the 'Desks' drop down tab to begin to drag and drop your desks to the floor plan.

-
To remove a desk from the floor plan, simply click the X next to the name of the desk on the right hand side menu.
Additional Options
-
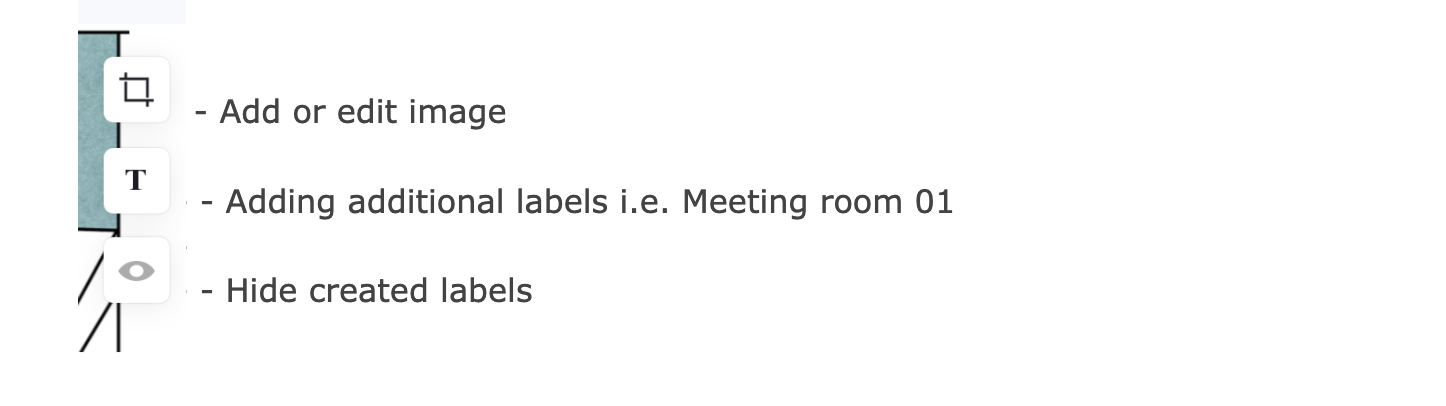
To your right you have the below options:
-
Add or edit image
If you want to change or edit your floor plan, click on the 'Crop' icon. If no changes are required simply close the webpage.
-
Adding additional labels
Click on the 'T' button to add additional labels to your floor plan such as a meeting room or area in the office.
-
Hide created labels
If you wish to hide the name of the desks, click on the 'eye' icon, this will remove the labels from your floor plan.
Changes made to your floor plan are automatically saved. When you have finished editing your floor plan, simply close the window.