⚠️ This article relates to SwipedOn Desks which is a separate platform to our SwipedOn Visitor Management Software. SwipedOn Spaces and Resource Booking have their own help centre articles
Desks are the key "Spaces" managed by SwipedOn Desks. Desks are recorded solely within the application and there is no need to link with a room calendar.
-
Firstly, sign into the admin panel.
Your landing page will show all your locations. Click on 'View' for the location you would like to create a new desk.

-
When viewing a location, all levels will be listed. Select 'Manage Desks' for the level you would like to add a new desk.

-
This will then display the list of all desks for the selected level.
Items are listed in alphabetical order, so when using numbers for desks we recommend using leading zeros to ensure they are sorted in the expected sequence, e.g. 001, 002, 009, 010, 011, etc.

-
When viewing the list of desks, click on the 'Add New Desk' button in the top right hand corner. This then opens a page to enter the desk details:

Desk Details
-
Active
Whether the desk is active and available for use.
If inactive, then desks will not appear in search results for users.
Type:
Desks can only be one type:
-
Bookable
These are most common. A desk that users can search for and book. it is then reserved for the selected period before being bookable by another user.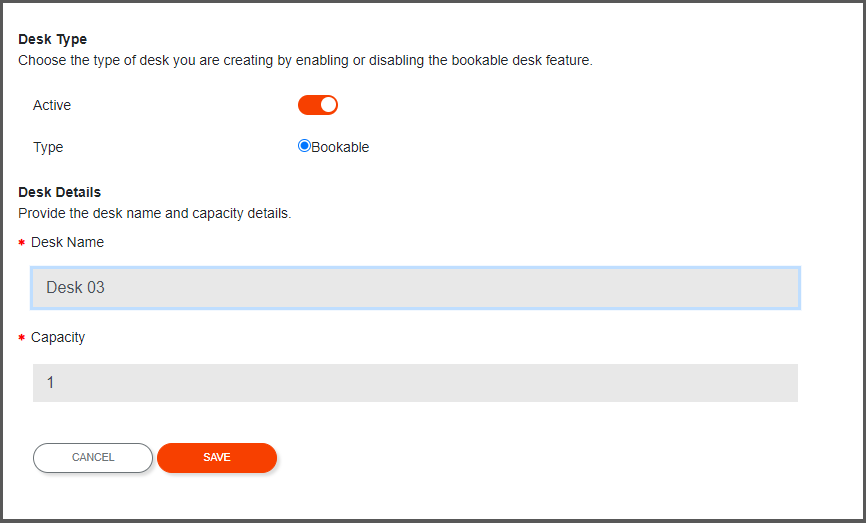
-
Desk Name
The unique name or number given to the desk. Its usually best to use a naming convention for example <floor number>-<desk number>.E.g. Desk number 7 on the third floor would be listed as "3-07".
-
Capacity
The number of people who occupy the desk. This is normally just one but some organisations may have larger desk occupancy.
Resources
There are five options currently available that can be used to show resources of a desk. For example, desks can be marked as being adjustable, having a monitor present. When searching for desks, users can filter results based on these options.
Floor Plans
When searching for desks, you may want to view a map or floor plan showing the location. This section is used to link a specific desk to a floorplan.
The two map options are:
-
Static Floorplan
The simplest option is to upload a static image (JPG/PNG). When users view details of a desk, they can click a button to then display this image.
Some organisations will use the same floor plan for all desks on a level, whilst some make a copy specific to each desk and will highlight the image somehow (e.g. red circle around the desk). -
Interactive Floorplan*
A copy of the floorplan is made interactive to show live usage. Each desk in the system can be linked to the same dynamic map so that when a desk is occupied the map is updated (desk colour changes to red).When using interactive maps, connections need to be made for the location, the level and then at each specific desk.
*Subject to additional charges
Once all the relevant information has been entered, click the 'Add' button to save and return to the list view of desks. All settings can easily be changed if necessary by editing a desk record.
Repeat this step for each desk you need to create. If you are creating a large amount of desks, contact support for bulk upload.