⚠️ This article relates to SwipedOn Desks which is a separate platform to our SwipedOn Visitor Management Software. SwipedOn Spaces and Resource Booking have their own help centre articles
Before you can link your Desks you must create a location.
To create your first location, follow the steps below:
-
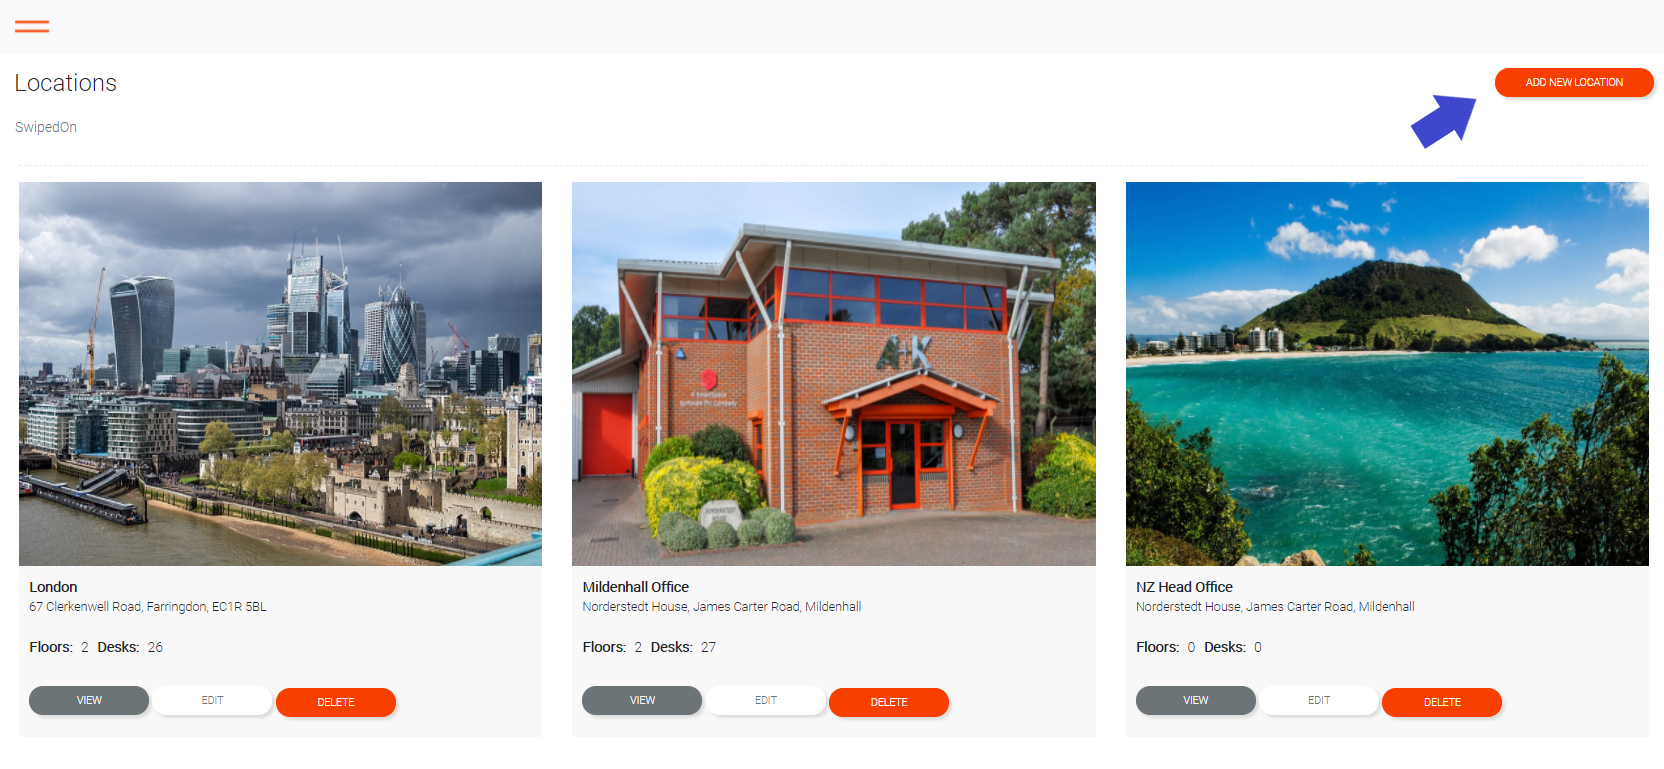
Firstly, sign into the admin panel. Once logged in, the landing page will display showing all existing locations (if any)
-
Click on 'Add New Location' to create a new location.
-
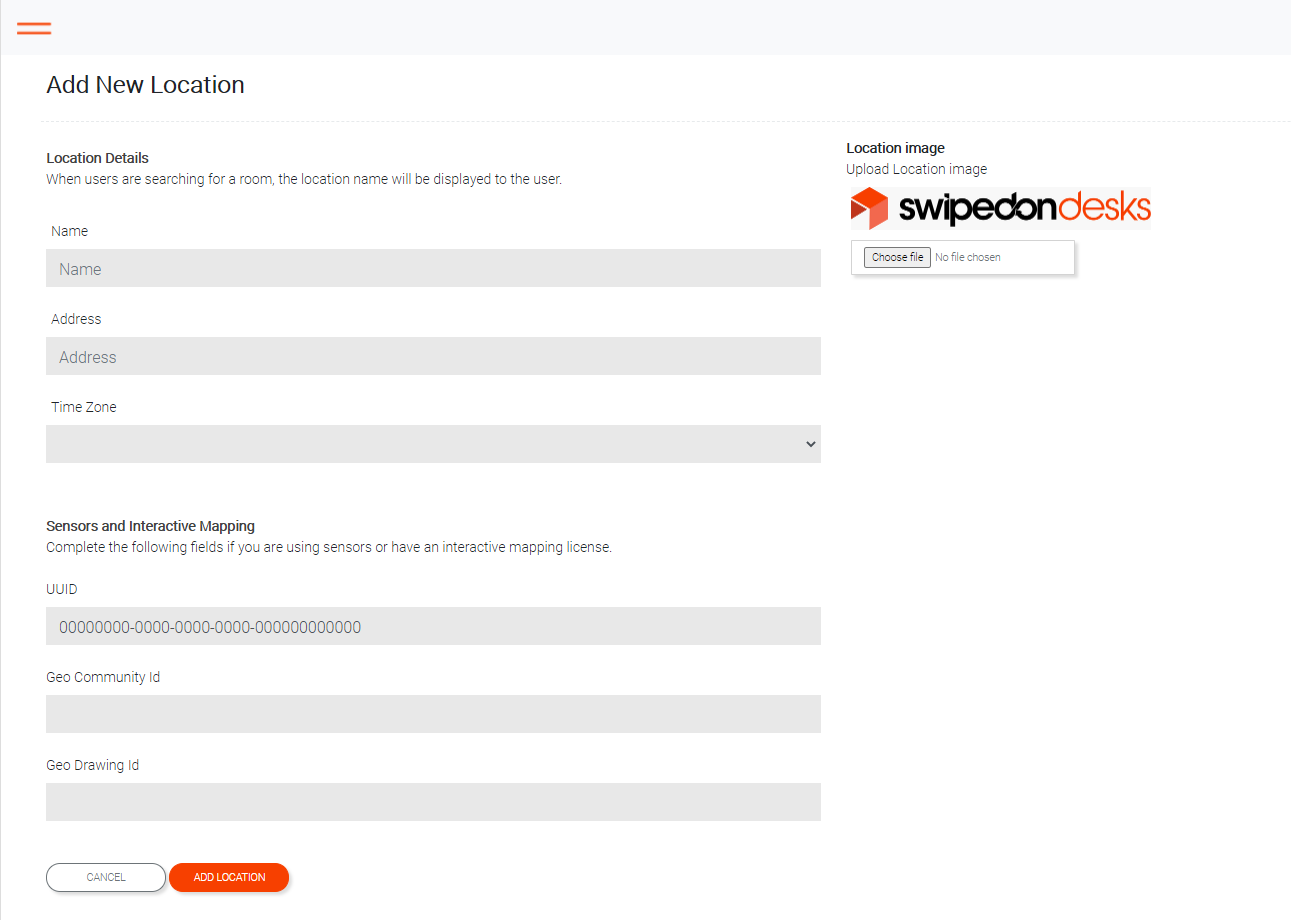
Name
The name of the location. This could just be the city or commonly used name.
-
Address
The postal address of the location.
-
Time zone
The time zone of the location. This is important to ensure the system can correctly save and display bookings for users all over the world.
-
Location Image (Optional)
It is possible to provide an image for each location that simply helps when administering the system. This must be a .PNG or .JPG file format.
If not provided, a generic placeholder image will be used.
-
UUID (Optional)
This is only required when using sensors to monitor presence. Each sensor has three IDs that are used to link them to a specific building, level and space. This field is used to link sensor data to this building.
-
Geo Community ID & Geo Drawing ID (Optional)
This is only required when using HERE maps. This field links this location to the matching location in HERE maps.
-
When all details are entered, click on "Add Location" to save the record and return to the location homepage. The location is now available for entering levels and then spaces.