🏳️ Available as part of SwipedOn Spaces resource booking
Creating a zone
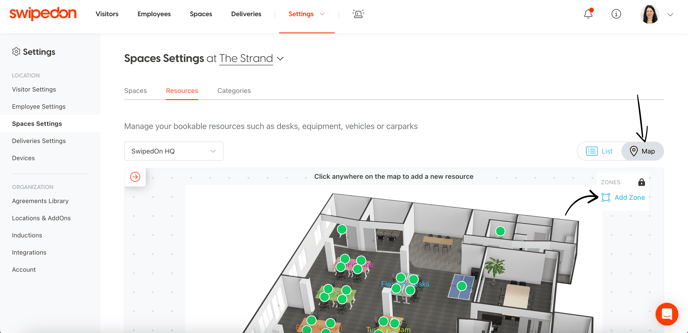
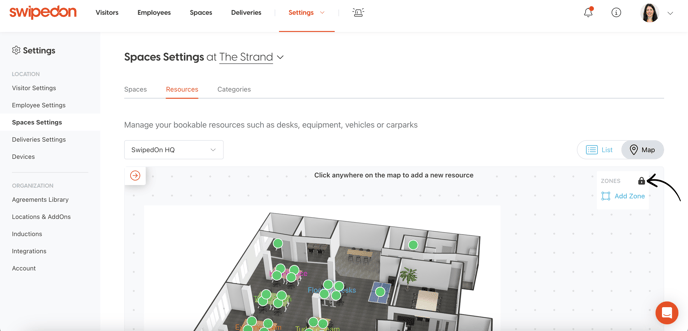
Log into your SwipedOn web dashboard and navigate to the ‘Settings’ > ‘Spaces Settings’ > ‘Resources’ view and toggle to the Map view. Click on ‘Add Zone’, as shown below.
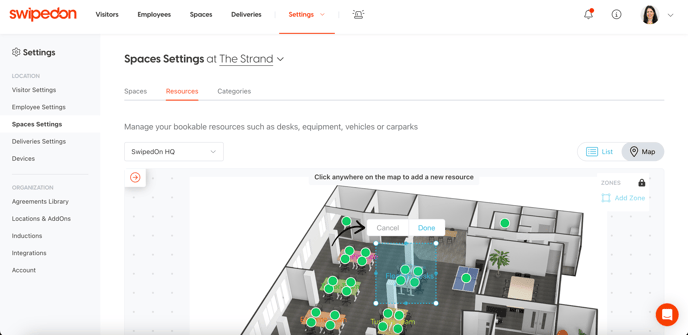
An editable box shape will appear when you move your curser onto the map which can be dragged to wherever you would like to create a zone. When happy with the size, shape and placement of the zone click ‘Done’.
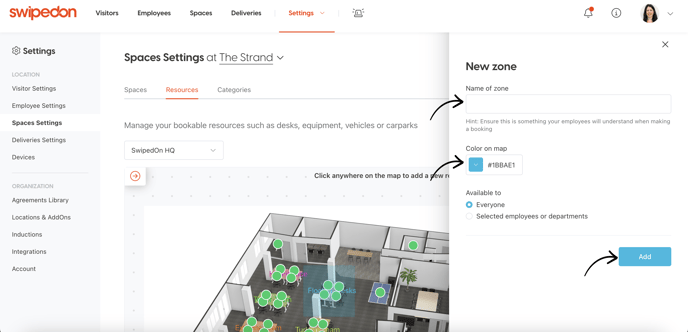
A drawer will then pop out on the right hand side where you can create a name for the Zone - ensure this is something your employees will understand when making a booking. Then adjust the color on the map if required and select who this zone will be available to. You can create restrictions here to ensure that only certain employees or departments can book within this zone. Click ‘Add’.
This zone will now be visible on the map in the web dashboard for admins if they’re making bookings or placing resources, and to employees on the SwipedOn Pocket app when booking resources in this zone.
Removing a zone
Unlock the zones on the map by selecting the padlock next to the 'Zones' heading in the top right section of the map, as shown below.
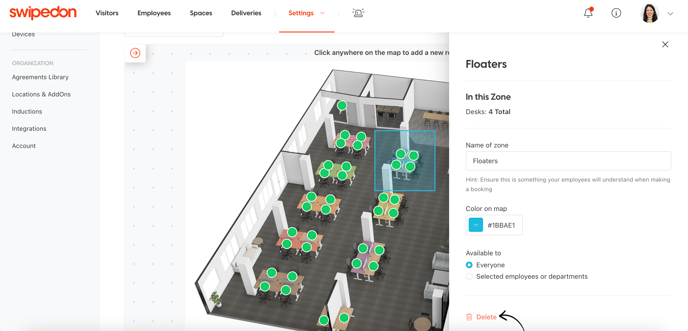
Once unlocked, click on the zone that you would like to delete and select 'Edit Details'.
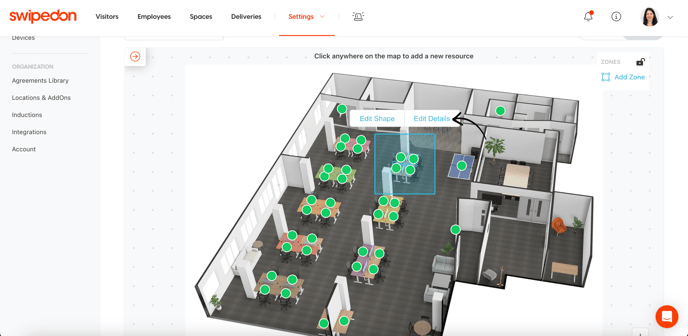
A drawer will open with the zone's details. From here, select 'Delete' to remove the zone.