The name of the location will display at the end of the sign-in notification so making sure you've given each location a relevant name in the SwipedOn dashboard can be helpful in identifying where the visitor has signed in.
Updating the Location name (single location)
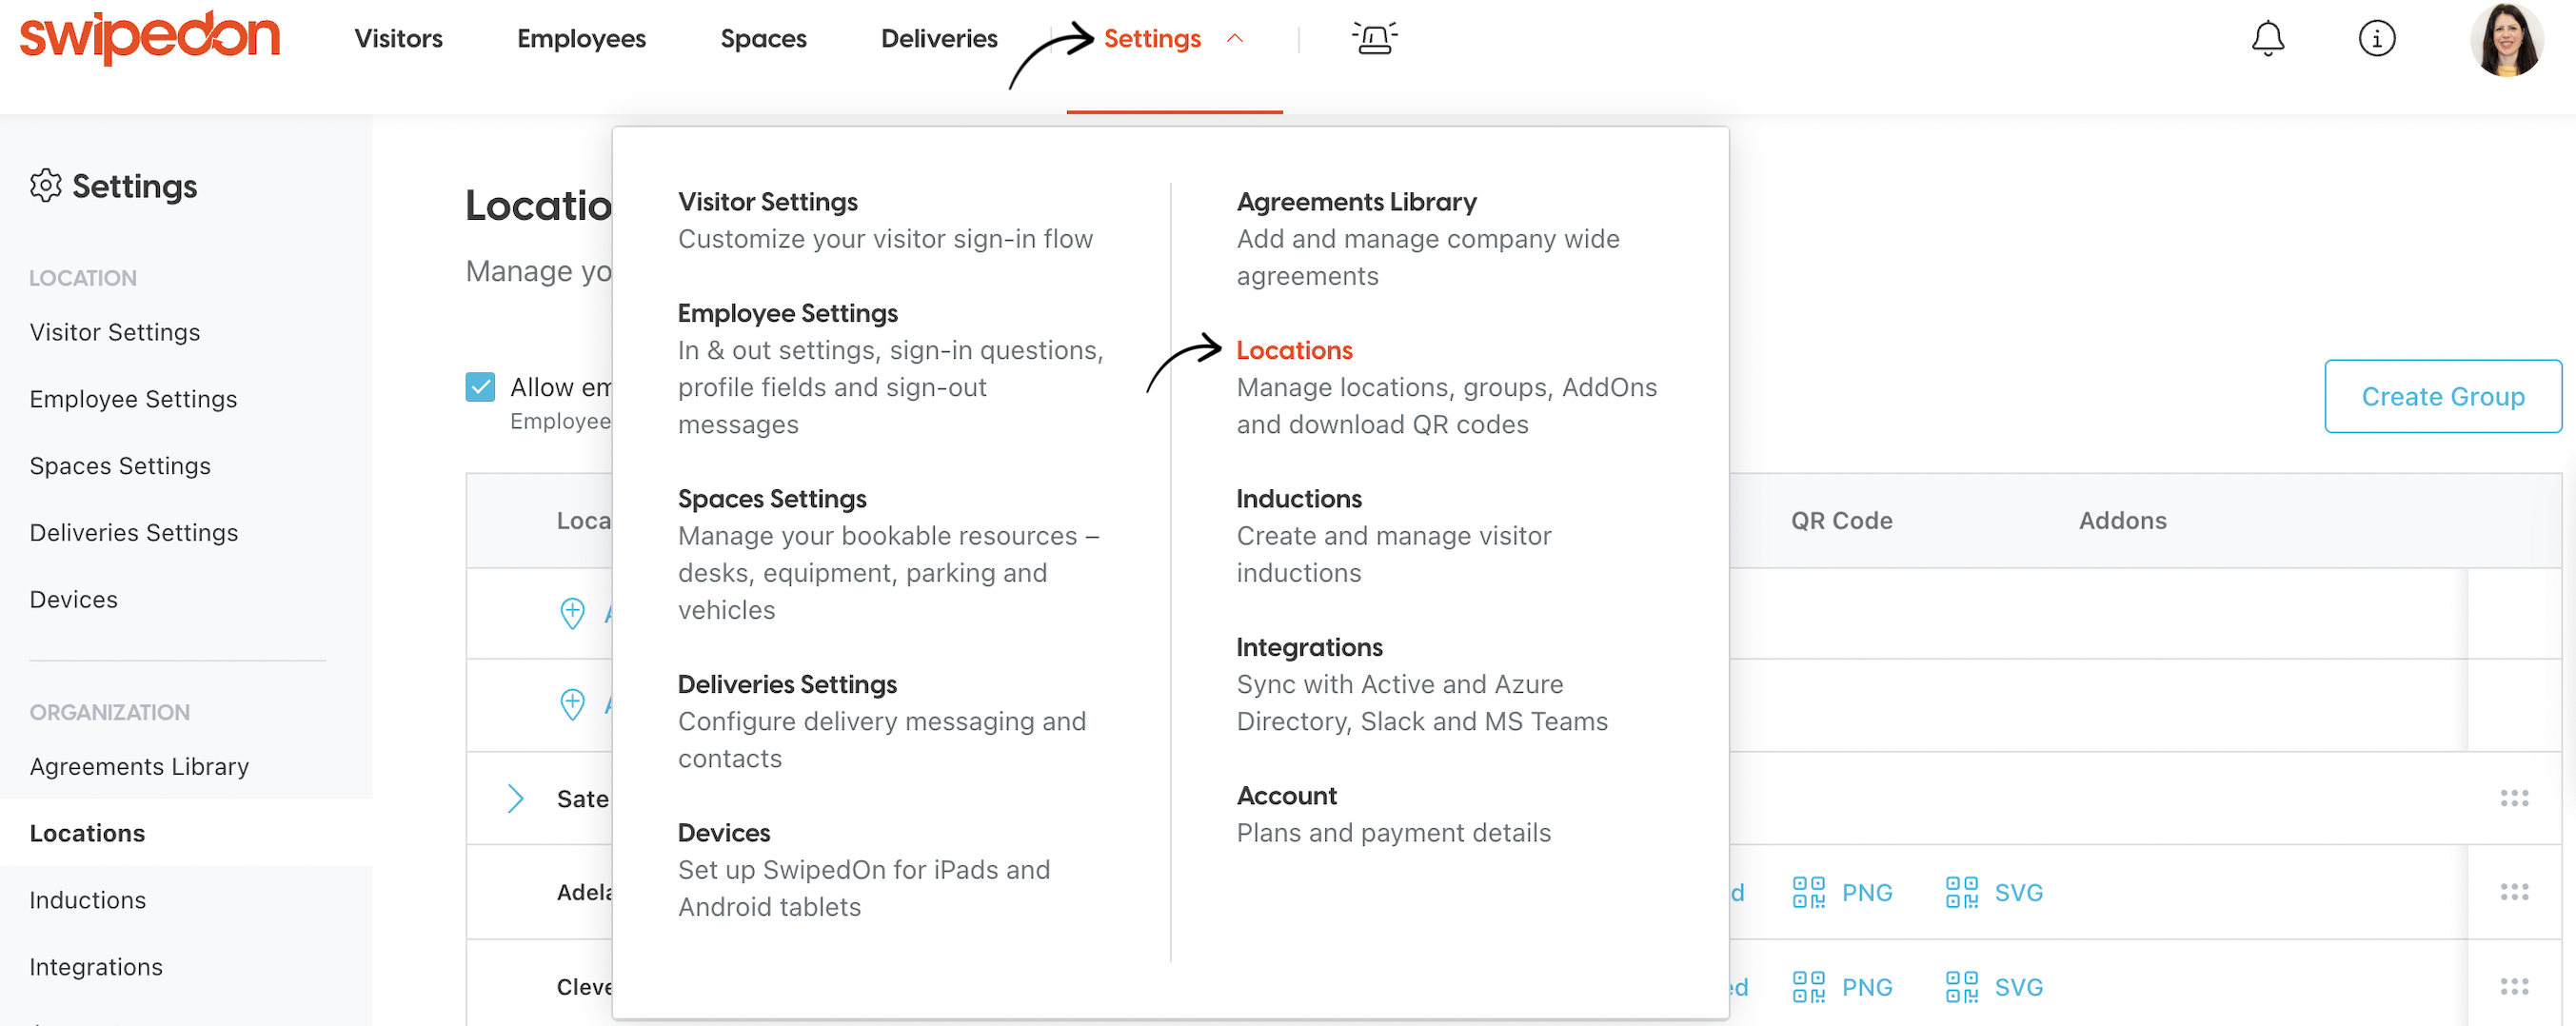
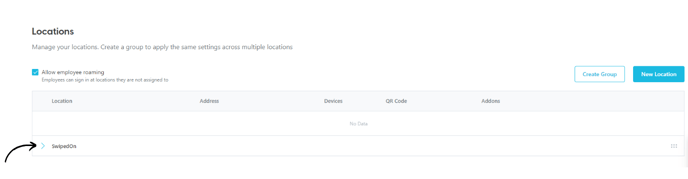
Navigate to the 'Settings' > 'Locations' view in the SwipedOn web dashboard.
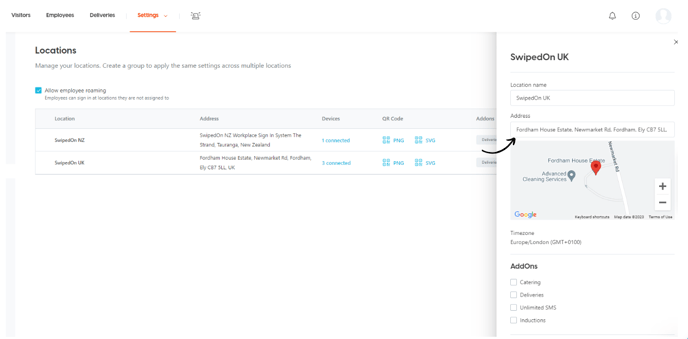
- Click on the location, which will open the drawer to the right hand side of the page with all of that location's information.
- Click on the text box to edit the name of the location, select the correct address from the dropdown and then click 'Save'.
Updating the Location name (multi-location)
-
Navigate to the 'Settings' > 'Locations' view in the SwipedOn web dashboard and click on the dropdown arrow next to the group you would like to edit a location within.
- Click on the location, which will open the drawer to the right hand side of the page with all of that location's information.
- Click on the text box to edit the name of the location, select the correct address from the dropdown and then click 'Save'.
Updating the Location Group name (multiple locations)
-
Navigate to the 'Settings' > 'Locations' view in the SwipedOn web dashboard. Click the dropdown arrow next to the Location group you would like to edit the name for and an edit icon will appear, as shown below.
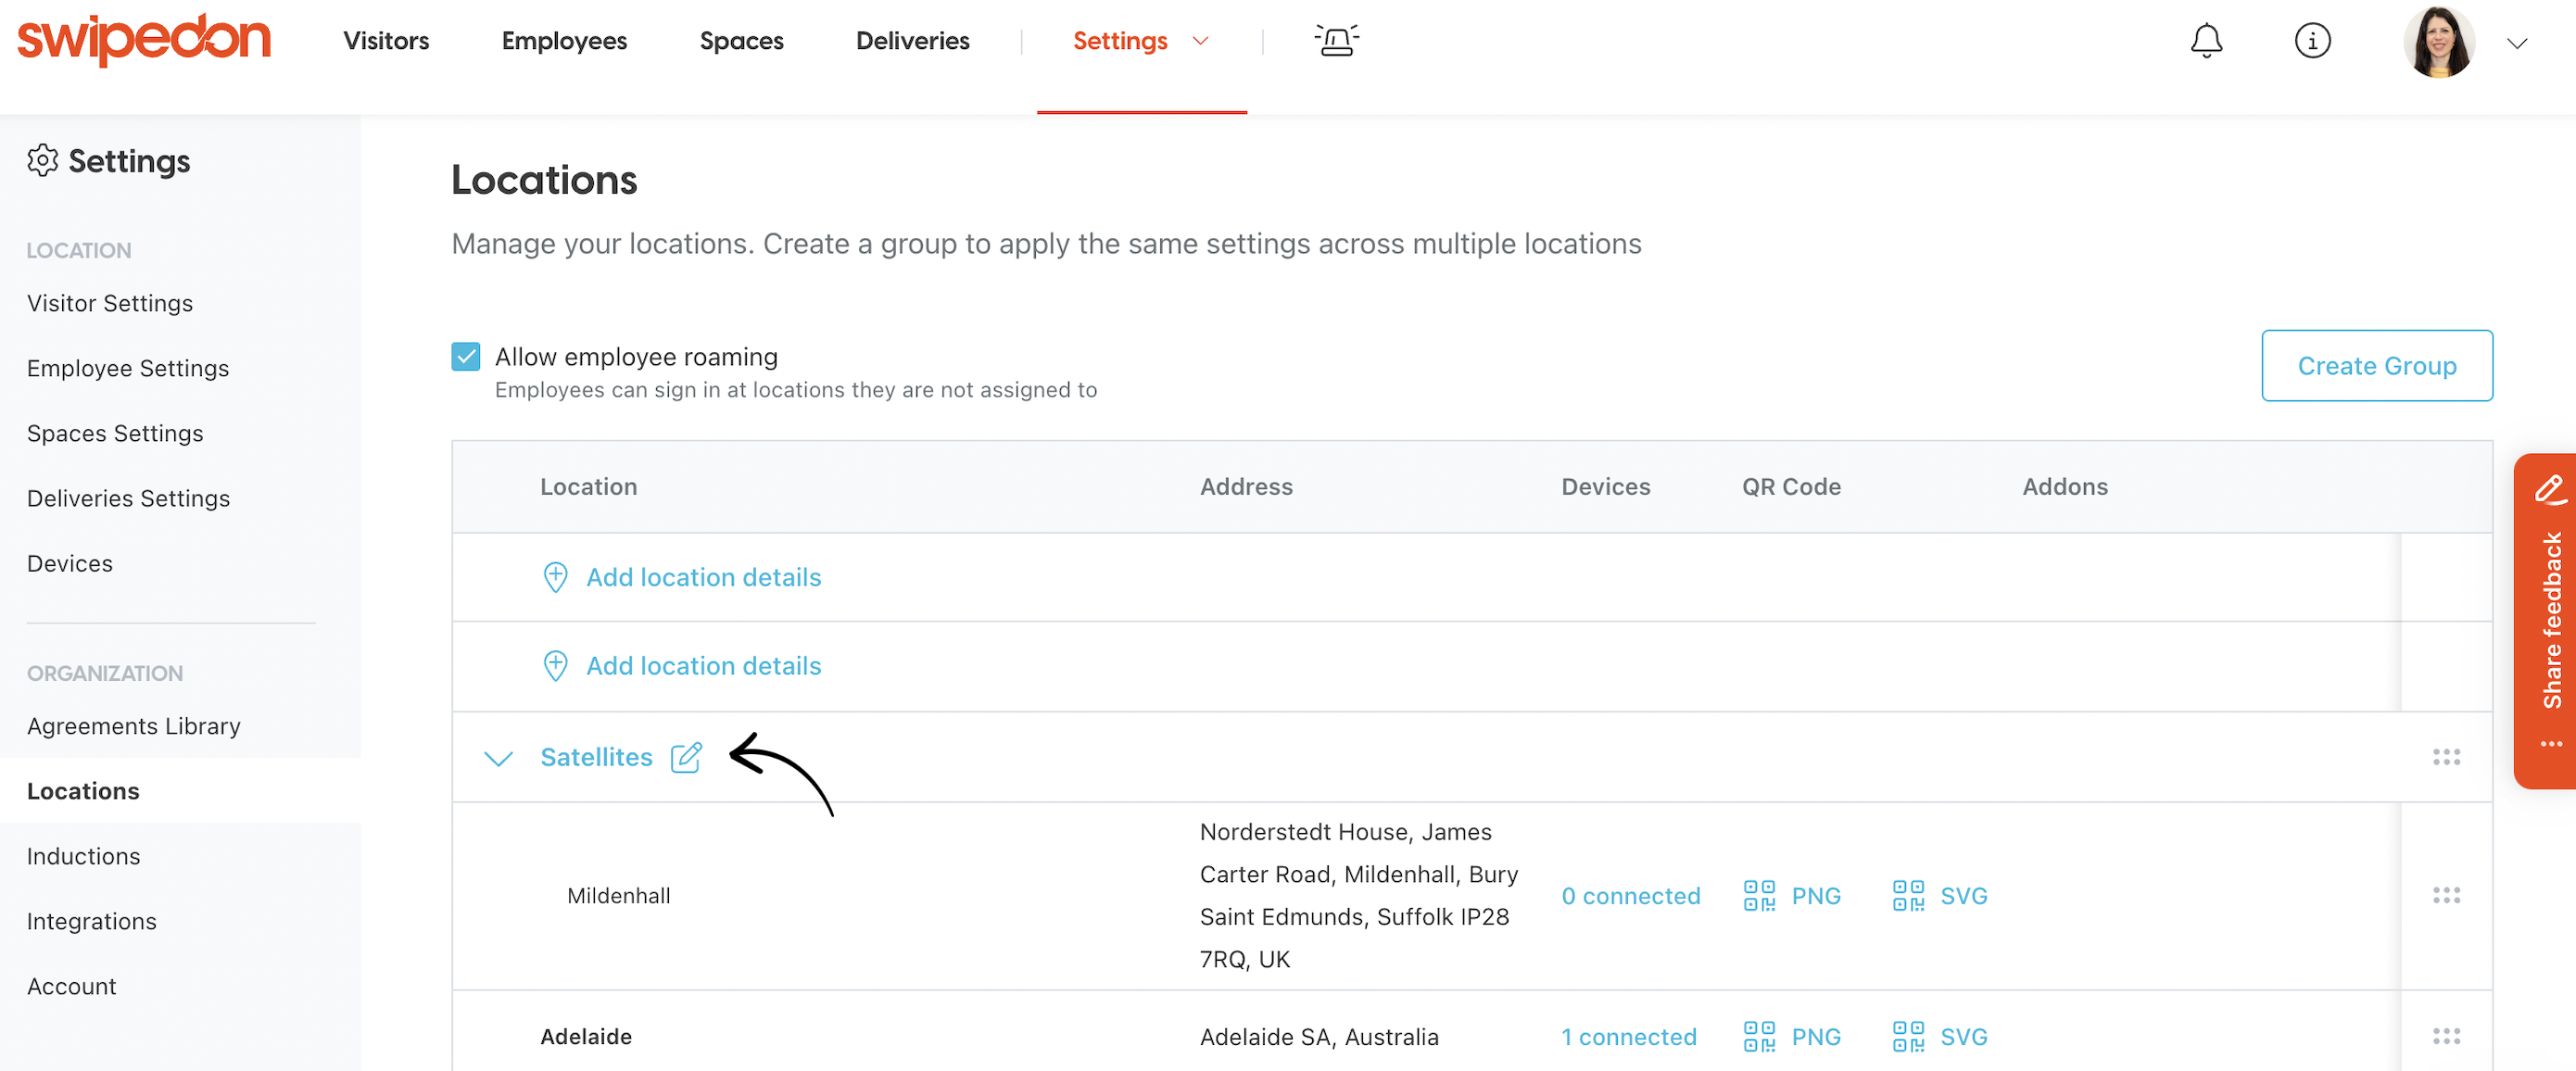
- Click on this icon and a drawer will pop up on the right hand side of the page where you can change the name of the group. Edit this and then click the 'Save' button.