This article describes how to generate QR codes for desks
⚠️ This article relates to SwipedOn Desks which is a separate platform to our SwipedOn Visitor Management Software. SwipedOn Spaces and Resource Booking have their own help centre articles
-
Firstly, sign into the Admin Panel. Your landing page will show all your locations. Click on 'View' for the location you would like to generate QR codes.
-
When viewing a location, all levels will be listed. Select 'Manage Desks' for the levels you would like to generate QR codes. This will then display the list of all desks for the selected level.

-
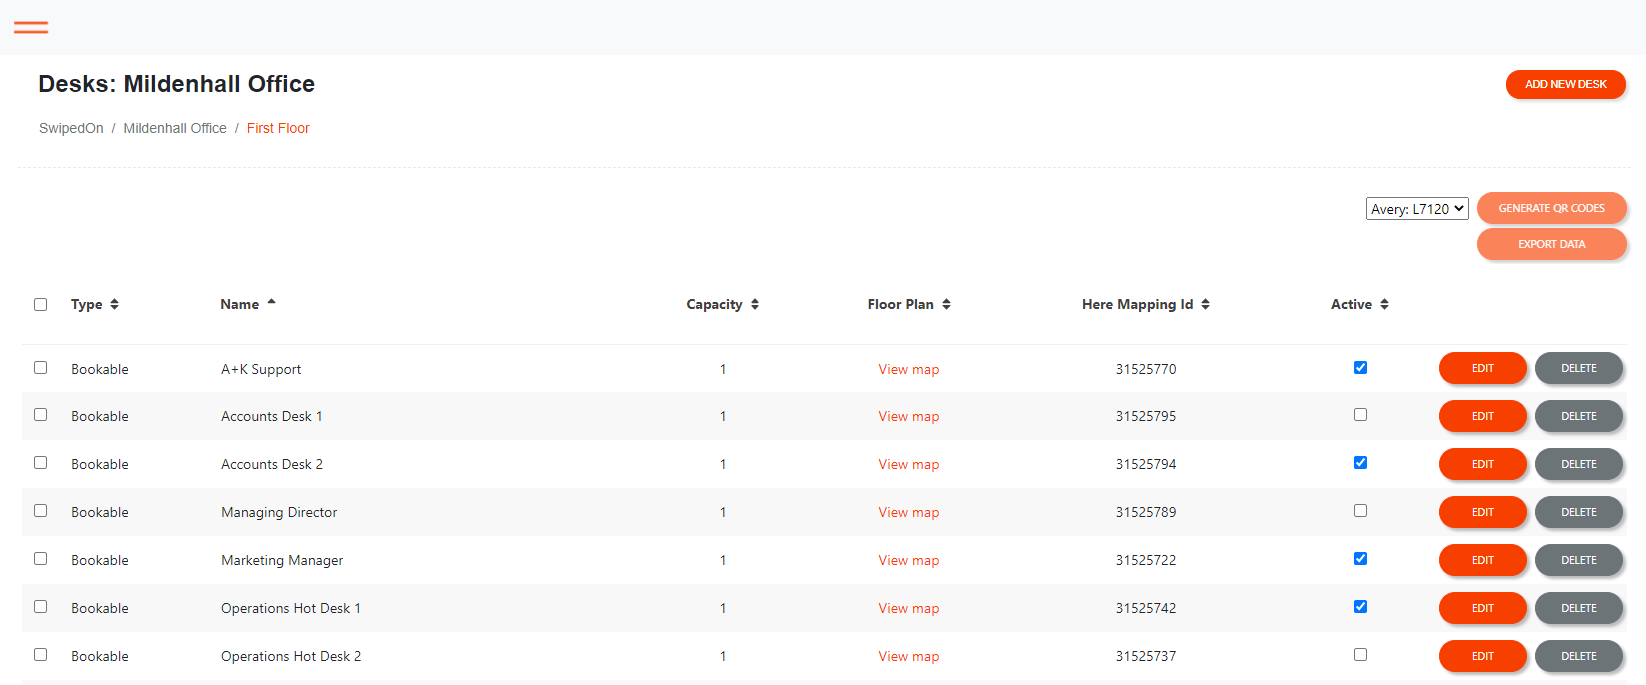
When viewing the list of desks, use the check box on the left hand side to select the required desks (or you can select all). When desks are selected, the button for 'Generate QR codes' becomes active.
-
SwipedOn Desks can output labels which are compatible with the following Avery Labels:
-
L7120
-
L7121
-
L7122
-
-
Select the format required from the dropdown and click 'Generate QR Codes'. This will open a new page filled with QR codes for the selected desks. QR codes can be printed directly onto Avery labels, or just printed to plain A4 and cut out.
-
The QR code labels can then be placed on each desk ready to be scanned by users to sign in.
