⚠️ This article relates to SwipedOn Desks which is a separate platform to our SwipedOn Visitor Management Software. SwipedOn Spaces and Resource Booking have their own help centre articles
To get started, please log in to the Admin Portal by clicking here. Make sure you use the appropriate sign-in method for your organisation.
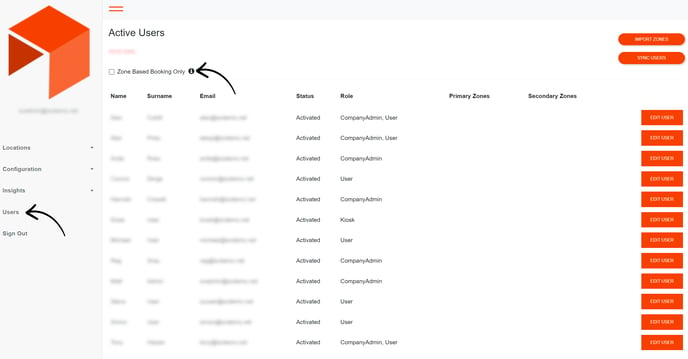
To access the user list, simply click on 'Users' located in the left-hand side navigation panel.
Once you're on the User page, your next step is to determine how you want your Zones to function. You have the option to enable or disable Zone-Based Booking Only. Below, we've outlined the distinctions between these choices for your convenience.
Zone Based Booking Only = Off
- Users without any zones will be able to book all desks
- Users assigned to zones will only be able to book desks within the respective zones.
- Only desks within Primary Zones will be visible first, if no space exists in Primary Zones then Secondary Zones will become visible.
- A fixed desk assigned to a user will be available to them irrespective of zones.
Zone Based Booking Only = On
- Users without any zones will only be able to book desks not assigned to a zone.
- Users assigned to zones will be able to book desks within the respective zones and spaces not assigned to a zone.
- Only desks within Primary Zones will be visible first. If no space exists in Primary Zones then Secondary Zones will become visible.
- A fixed desk assigned to a user will be available to them irrespective of zones.
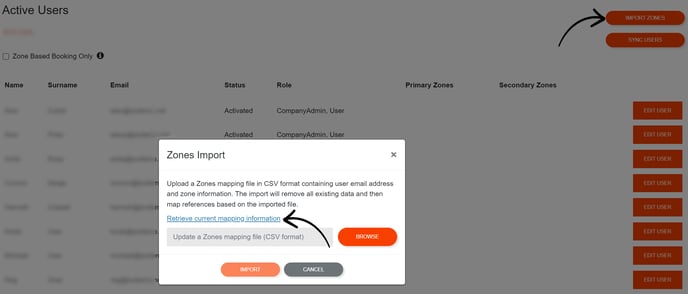
To upload your Primary and Secondary zones for your users, you'll require either the provided sample CSV or the existing one if it's already available. To obtain this file, simply click on 'Import Zones' in the top right-hand corner, and then select 'Retrieve current mapping information' to download the CSV.
If no information has been mapped previously, an example copy will automatically download for you to overwrite and utilise as needed.
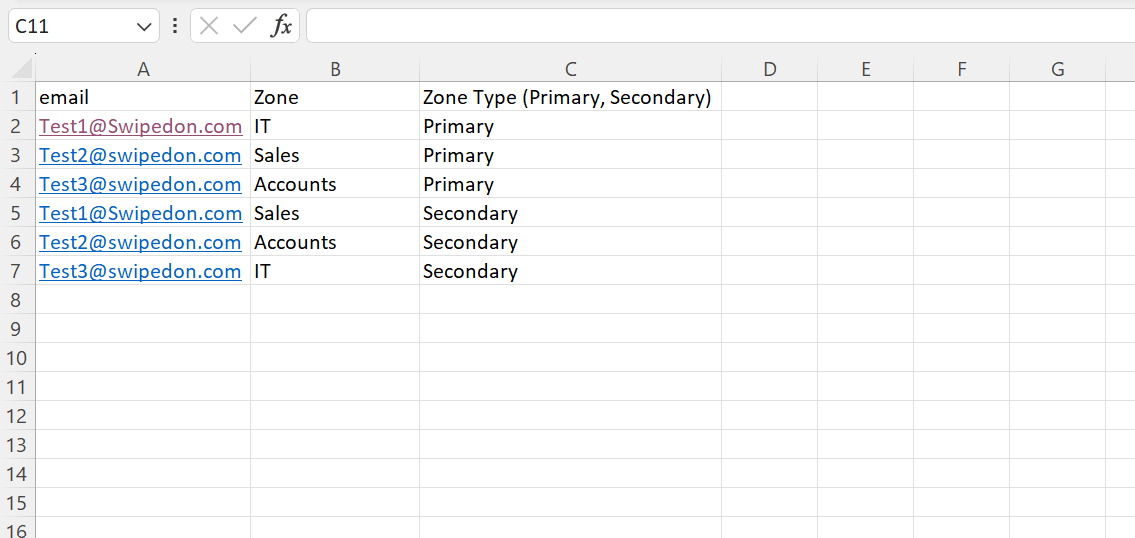
After successfully opening the CSV file, please proceed by assigning zones to your desired employees. To do so, simply input their respective email addresses in the first column labelled 'Email.' Once all employee email addresses are entered, proceed to the adjacent column to specify the zones to which each employee should be assigned. Ensure that these zone designations align with those you have established in your configuration settings.
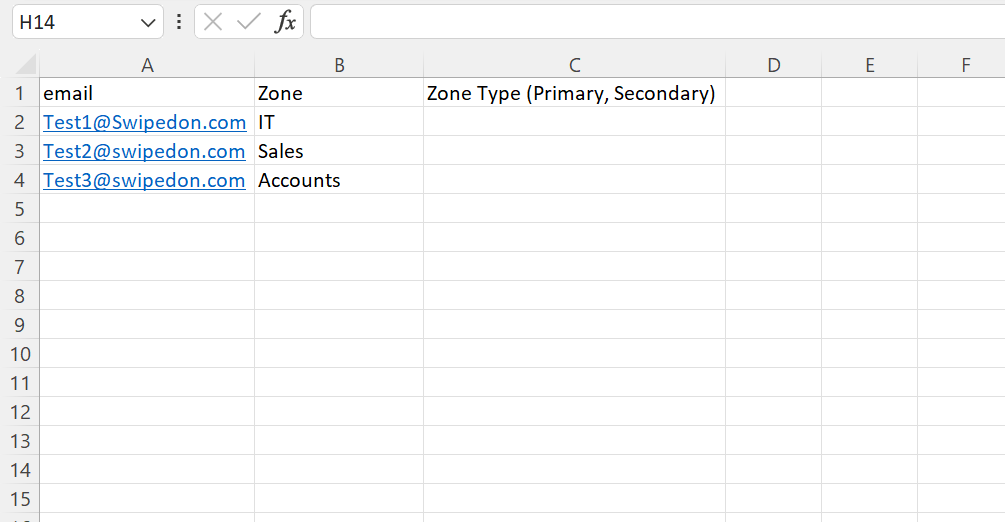
Next, you need to specify the zone type for each employee. You can do this by entering either "Primary" or "Secondary" in the corresponding column.
"Primary" zones are the preferred choices for your employees when making bookings. These are the zones you want them to prioritise.
On the other hand, "Secondary" zones come into play when all the available desks in their primary zone are already booked. These zones serve as backup options for your employees to make bookings.
To assign both a primary and secondary zone to the same user, ensure you enter the employee's email address twice: once to indicate their primary zone and again in a separate entry to specify their secondary zone.
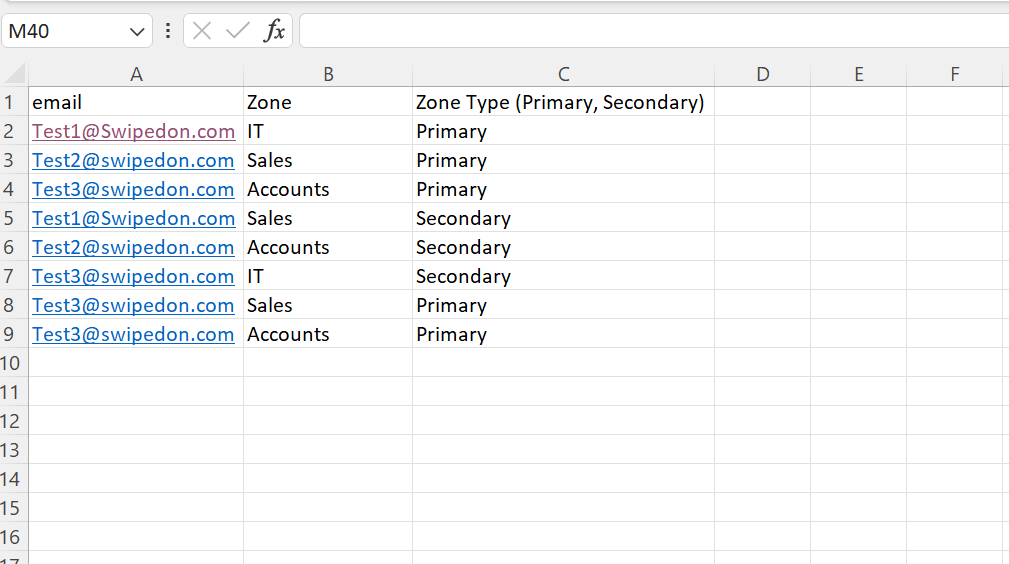
To include the same employee in multiple zones, simply input their email address once more, followed by the corresponding zone type (primary or secondary) for each zone entry. Repeat as many times as you need depending on how many zones you would like them in.
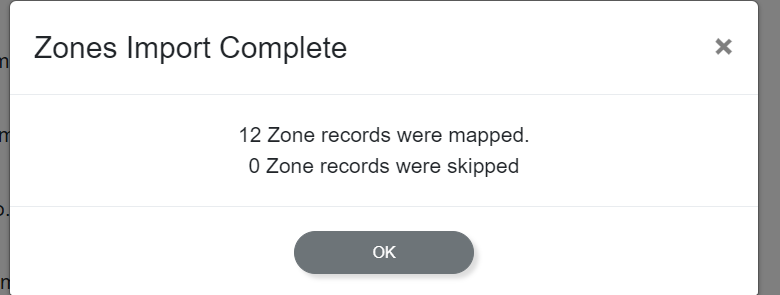
Once you've finished preparing your CSV file, simply revisit 'Import Zones,' then click 'Browse' to select your completed CSV. After clicking 'Import,' we'll show you the number of records successfully imported and any that were skipped. Just click 'OK,' and you'll now have all your zones neatly assigned to your user list.
Great news! Your users are now successfully assigned and can start booking in the zones you've designated for them. Happy booking!