⚠️ This article relates to SwipedOn Desks which is a separate platform to our SwipedOn Visitor Management Software. SwipedOn Spaces and Resource Booking have their own help centre articles
If you're not looking to connect SwipedOn Desks to Microsoft using single sign on, you can create user accounts for direct access.
Creating Users
-
Firstly, a user with admin access* will need to sign into the SwipedOn Desks Admin Panel.
-
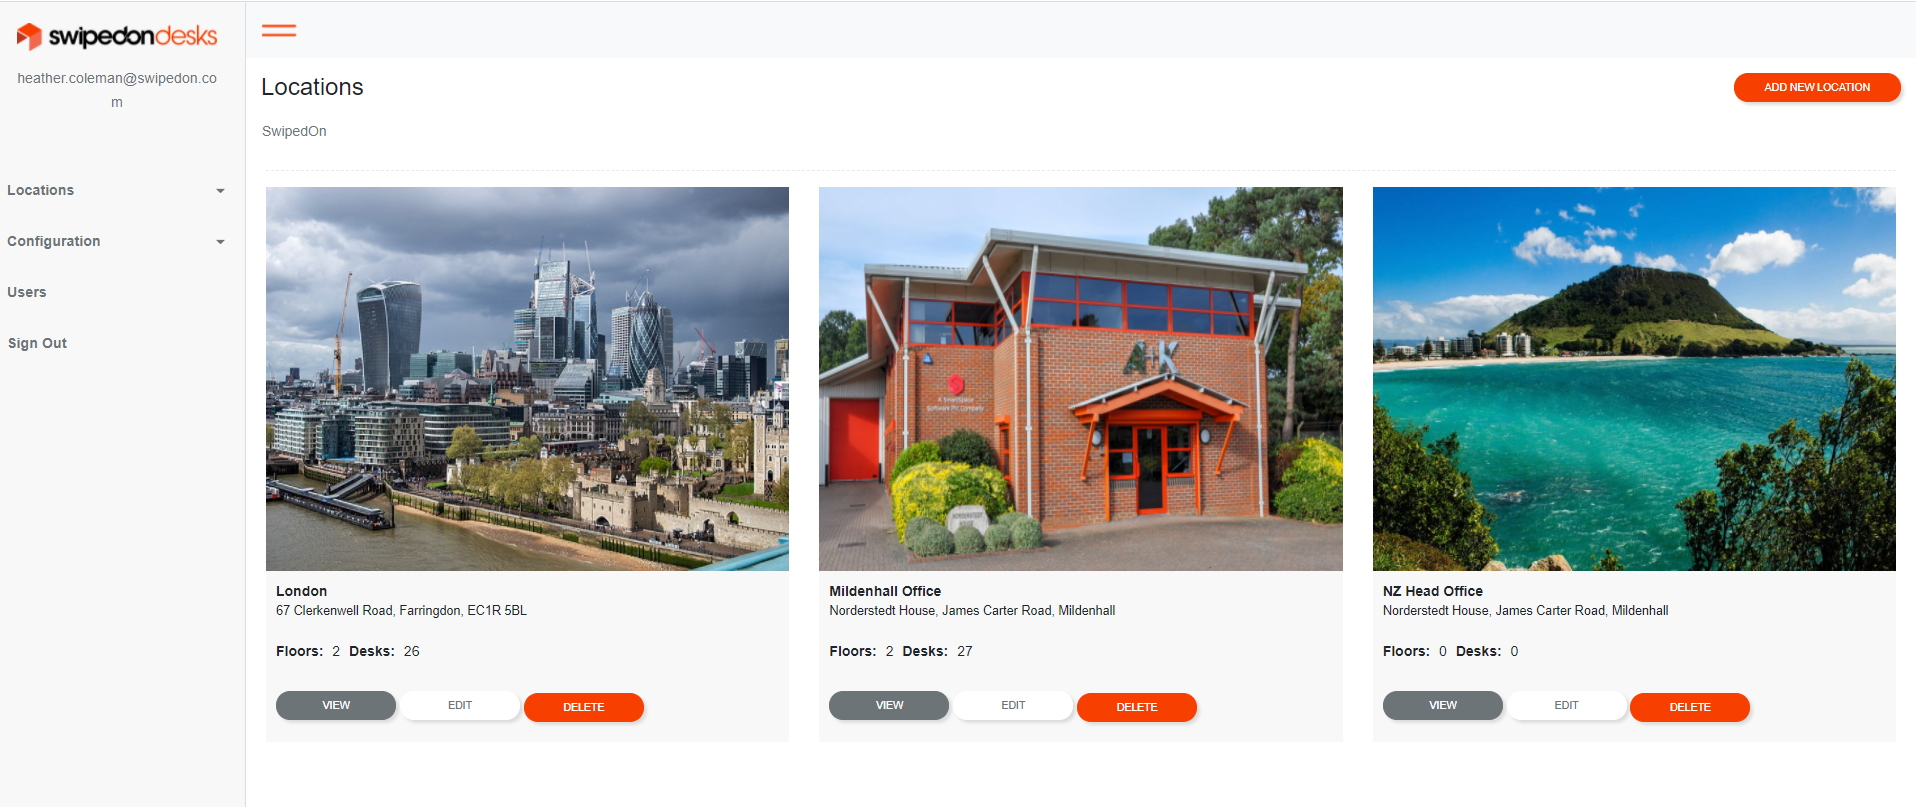
Once logged in, the landing page will display all existing locations (if any).
*The first admin user will need to be setup by SwipedOn.
-
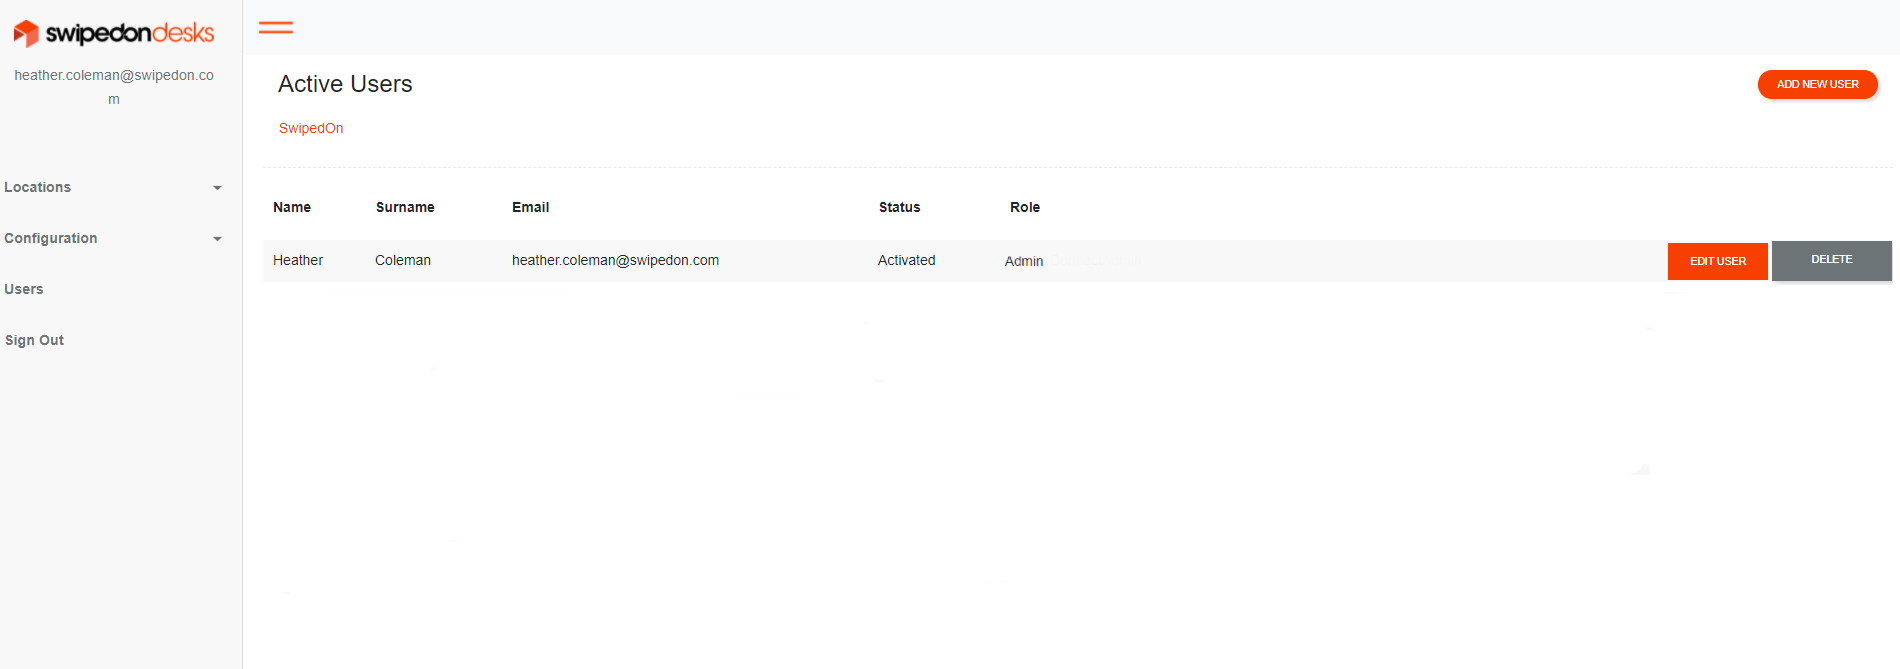
Within the admin portal navigate to Users on the left hand menu. Here you will see a list of users that currently have access to SwipedOn Desks.
-
To add a new user, click 'Add New User' at the top right hand corner of the page.
-
Enter employee details into the relevant fields. At a minimum, we require a first and last name and a unique email address*.
* An email address that has already been uploaded into SwipedOn Desks cannot be added again. This is due to SwipedOn requiring a 'unique ID' for each employee uploaded. The 'unique ID' in this case is the email address. The email address must also match the domain of your organisation as SwipedOn uses the name of the domain for client database access.
Default Preferences
-
Location
Select a default location for the new user. This location will be automatically selected when making a new desk booking.
-
Level
Select a default level for the new user. This level will be automatically selected when making a new desk booking.
-
Once the new user has been added, the system will generate a registration email which will be sent to the user asking for a password to be set. When creating new users, it is not possible to define their password. Passwords must be created by the end user themselves.
Important: The registration email will expire 24 hours after being sent.