⚠️ This article relates to SwipedOn Desks which is a separate platform to our SwipedOn Visitor Management Software. SwipedOn Spaces and Resource Booking have their own help centre articles
This Guide strictly relates to users with a linked Active Directory. This functionality is available to all integration types, however, Email and Password users have some restrictions: There is no Key Contact Group functionality. If you are an Email + Password user please go to this guide.
Step 1: Log In to the Admin Portal
Access the admin portal.
Enter your credentials and sign in.
Step 2: Navigate to the Configuration page
Using the Icons on the left Open the "Configuration" menu and click "Locate Me"
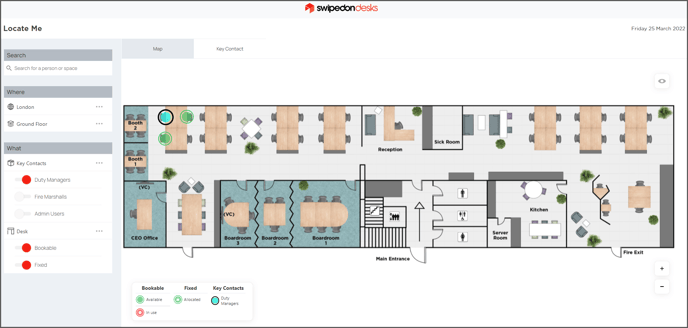
It will take you to this screen.
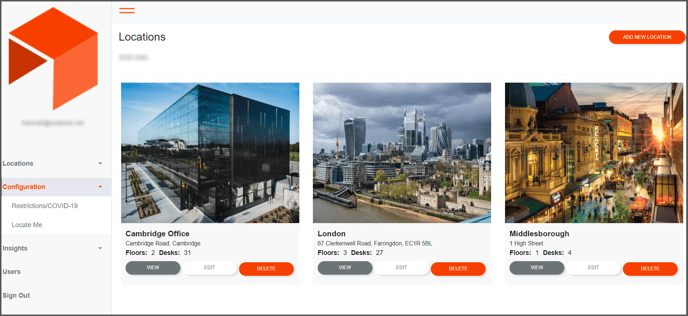
It will take you to this screen.
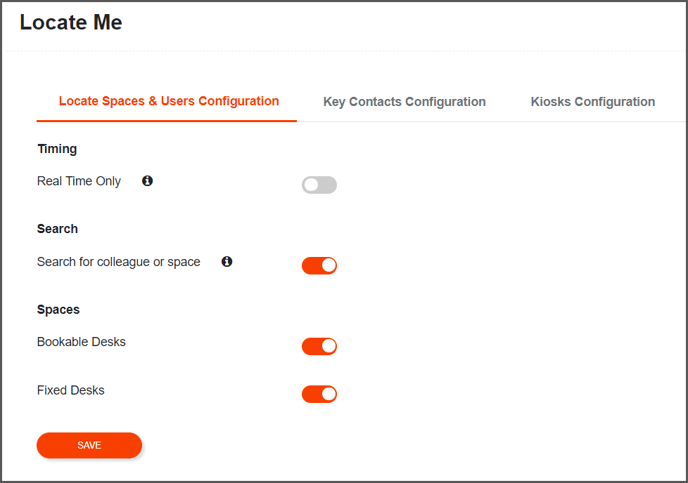
Step 3: Go to the Kiosk Settings
Click on the 'Kiosks configuration' page
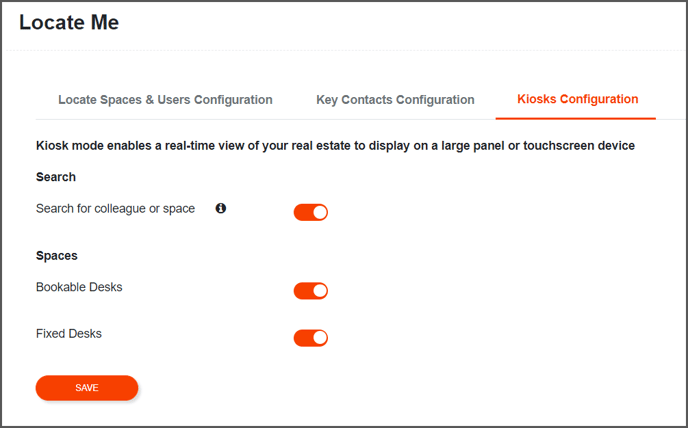
Select the options you would like to be displayed on the kiosk when active.
Timing:
The Kiosk Mode only displays in Real-Time so there is no toggle to change this. The Real-Time feature automatically updates every minute so there is never a discrepancy between the kiosk and the booking system.
Search:
The search toggle restricts the ability to find a specific space or user. If this is off you can only see the key contacts list or select booked desks on the map to see the details.
Spaces:
Toggle the Spaces to ON depending on which resources you use and wish to display, if a space is switched off but available it will not show up within locate me.
Once complete click 'Save'
Step 3: Log In to your Active Directory Admin page
Sign in to your Active Directory using your admin credentials.
Step 4: Create a new Group
Go to your resources page, and go to Groups.
Create a Security group named SwipedOnKiosk
(For Google users, the group can have the access level: 'Restricted')
Step 5: Create a new Email User
This user needs to have an email address with access to a mailbox.
You can give the user whatever name you wish. We named ours 'kiosk user'.
Step 6: Add the User to the Kiosk Group
Add this new user to the 'SwipedOnKiosk' group.
Once they have been added to this group, the user is linked to the Space Connect kiosk.
(Image below is from Microsoft)

Step 7: Sign In on the Kiosk or Interactive device.
When they sign to the Web Portal it will automatically sign them into kiosk mode.
You will be given the option to make the page Fullscreen, we recommend this as it makes the solution look and perform as an app.

You will notice that the only feature available is the locate me functionality, the option to book a desk from the locate me screen has been disabled, and the signed-in user details have been removed from the screen.
To exit the application, you need to exit the fullscreen and close the tab. To Logout, you need to clear the cached data in the browser settings.