The employee directory and employee timeline both offer export options, in this article, we provide various filtering options to apply when exporting your data.
- How to export 'All' employee directory data
- How to export filtered or searched employee directory data
- How to export employee movements for a selected date range
- How to export employee timeline data filtered by search
- How to export employee timeline data by filtered status
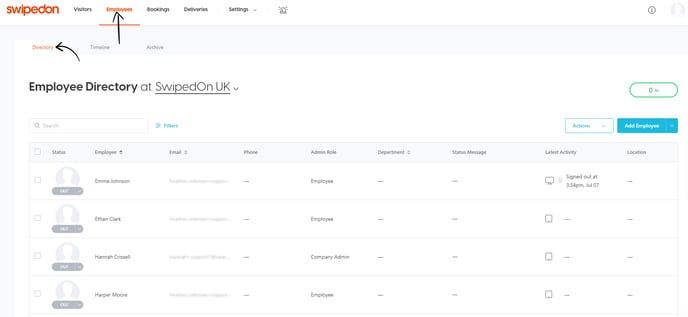
Exporting employee directory data
The employee directory data is an alphabetical list of all employees in your business. Exporting employee profile data is achieved via the 'Directory' tab within the 'Employees' view of the SwipedOn web dashboard.
How to export 'All' employee directory data
-
Click "Actions" then the 'Export All' button.
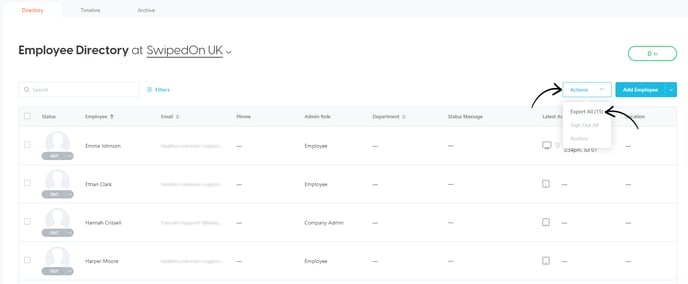
How to export filtered or searched employee directory data
- Navigate to the 'Employees' > 'Directory' tab.
-
Either search for an employee name or use the 'Filters' button and then "Status" drop-down for quick filters.

-
Click the 'Export All' button.
The employee directory export data contains:
-
Employee first and last name
-
Employee email
-
Employee phone
-
Assistant email & phone
-
Location
- Department
- Working remote status
-
Employee custom fields (if being used)
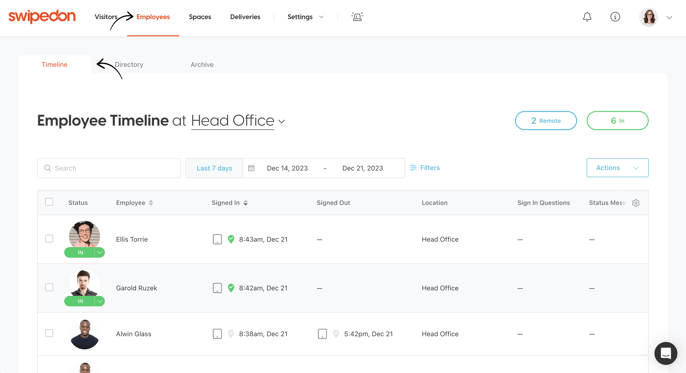
How to export employee timeline data
The employee 'Timeline' is a chronological list of all employee movements that have occurred, with the most recent appearing at the top of the page. This can be filtered by using the 'Filter' button.
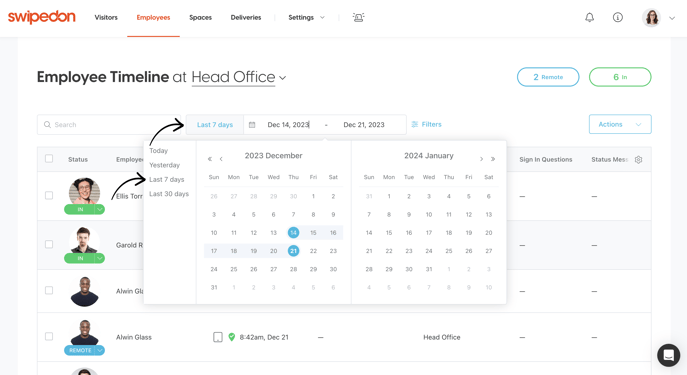
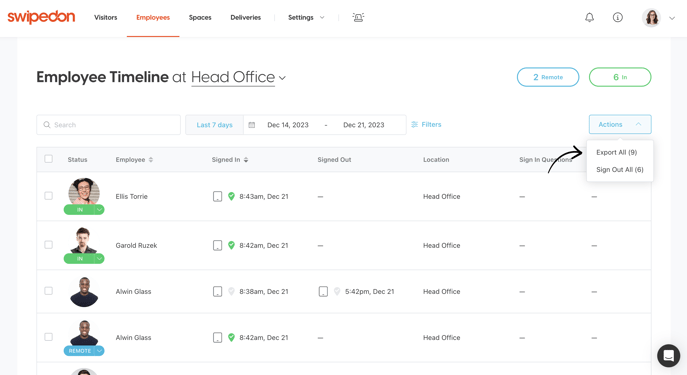
How to export employee movements for a selected date range
-
Select the 'Date range' box to select a date range. You can select from the pre-sets to the left or enter a custom date range. This will default to the Last 7 days.
-
Click the 'Actions' drop down then 'Export All'.
How to export employee timeline data by search
- Navigate to the 'Employees' > 'Timeline' tab.

- Click on the 'Search' text field and input the name of the employee. Once the first three letters have been input, the timeline will begin to filter based on the search results.
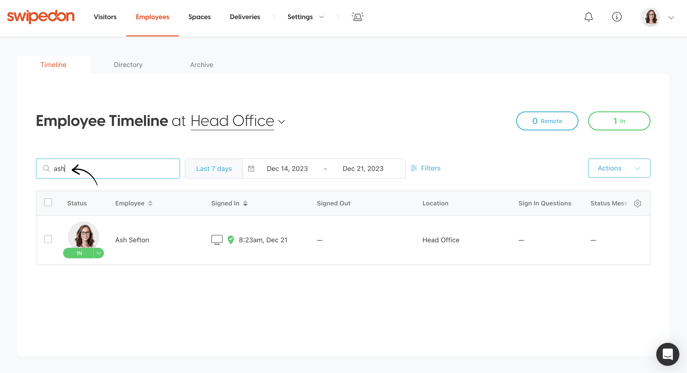
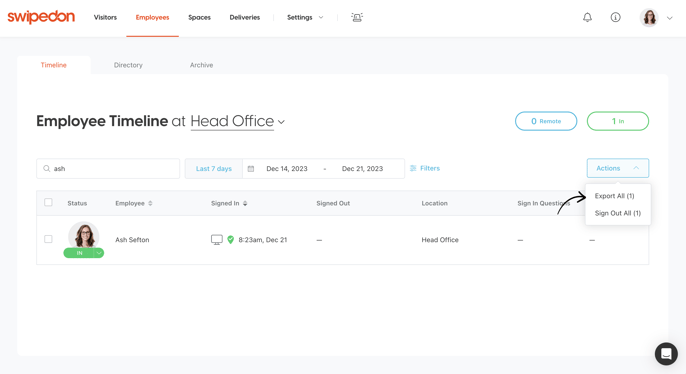
- Click the 'Actions' drop down then 'Export All'.
How to export employee timeline data by filtered status

- Click on the 'Filters' button and select one of the 'Status' drop-down options to see a view that will be applied prior to exporting.
-
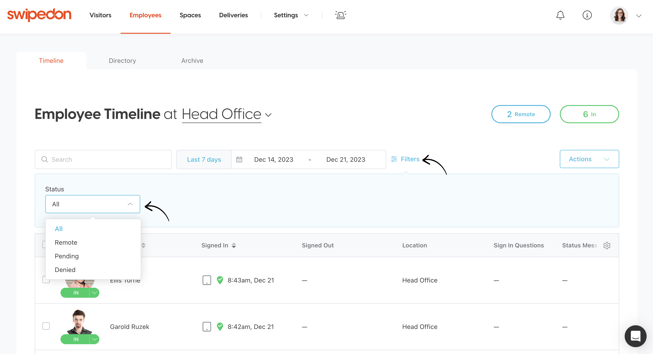 Click the 'Actions' drop down then 'Export All'.
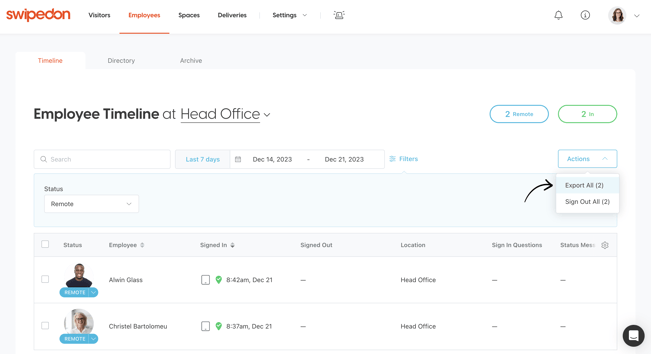
The employee timeline export data contains:
-
Employee first and last name
-
Employee email
- Location
- Department
- Timezone
-
Working remotely
-
Movement date and time (local)
- Total duration (HH:MM)
-
Movement date and time (UTC)
- Device used
- Onsite verification
- Sign out message
- Custom employee fields