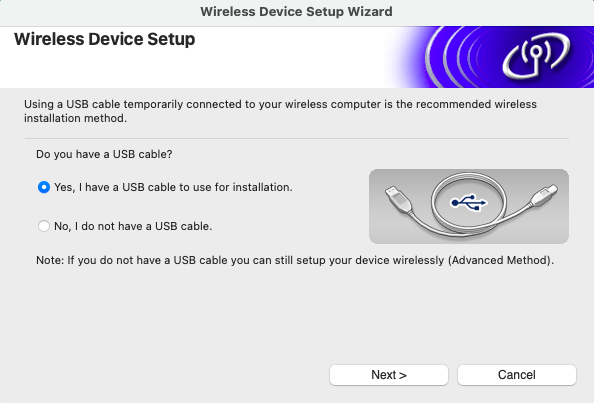
Firstly, please ensure you have the printer USB cable on hand to connect to the Wi-Fi network using this method.
How to connect the Brother QL-710W label printer to the Wi-Fi network
-
Navigate to the Brother support website.
-
Select your country/region and click on 'Product Search'.
-
Enter the printer model QL-710W and click 'Search'.
-
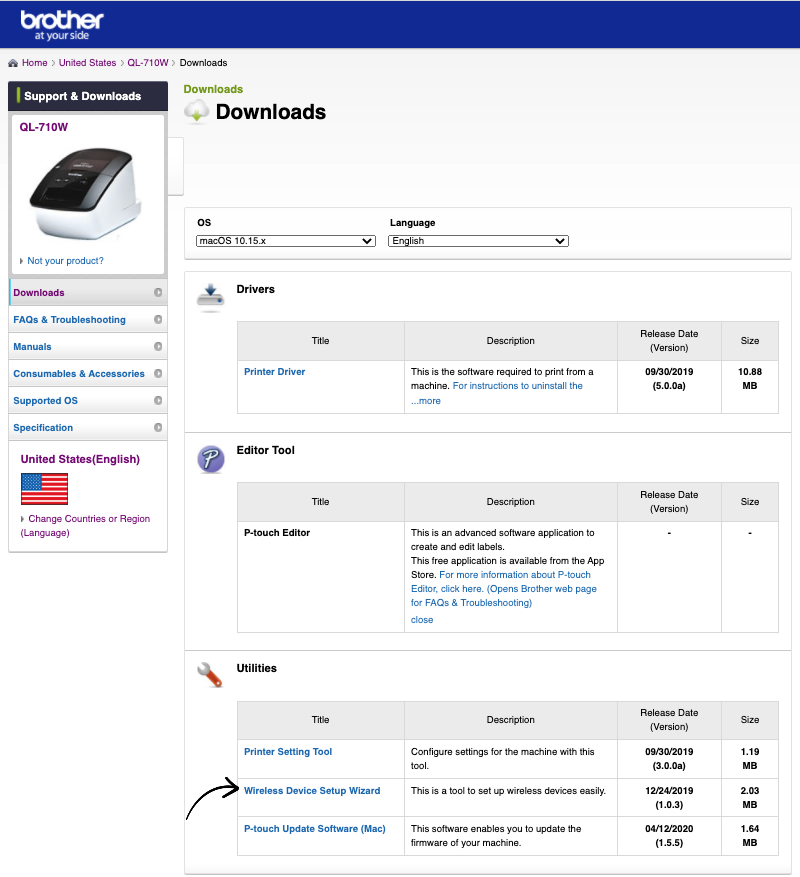
Click on the Downloads option. This will automatically select your OS.
-
Below the Drivers section is the 'Printer Driver', below the Utility section, also install the 'Printer Settings Tool'.
-
Before running the Printer Driver, please ensure your printer is connected to power, the USB cable is connected from the printer to the device that will be running the wizard and the printer is turned ON.
-
Run the Printer Driver, selecting 'Yes' to the question that asks if you have a USB cable and press 'Next' to continue through the setup process.
- Tick the 'Checked and confirmed' box and click 'Next' to proceed to the next step.

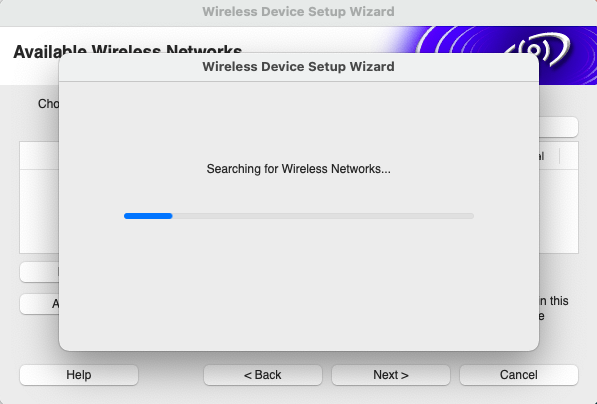
- This will then search for any available networks.
-
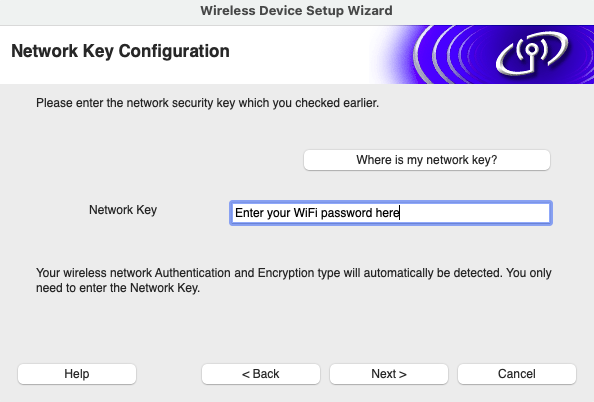
Select the Wi-Fi network the printer will be connected to and click 'Next'.

-
Enter the password for the Wi-Fi network selected in the above step and click 'Next'.
-
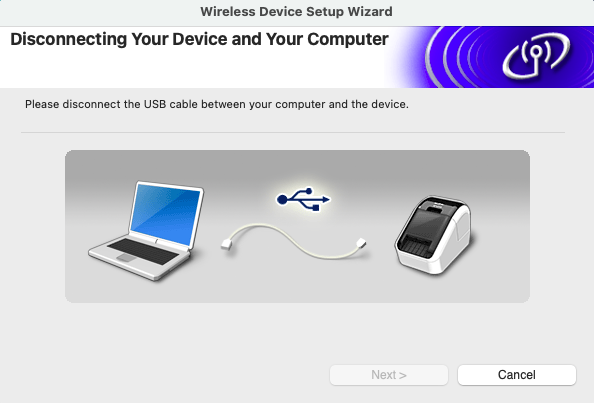
This will then prompt you to disconnect the USB cable, disconnect from either the printer or the device and click 'Next'.
-
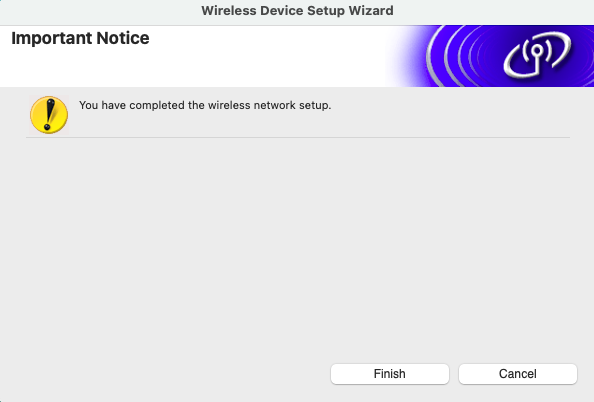
Once the USB cable has been disconnected, click 'Finish' to close the wizard.
-
The QL-710W printer should now show a solid green LED light above the Wi-Fi symbol, indicating that the connection has successfully been established.
Once the printer is connected to the Wi-Fi network, the last step will be to connect the printer to the SwipedOn iPad or Android tablet app. Please find more information on this process.