This article will guide you through the different visitor fields available to ensure you are capturing the necessary information when a visitor is signing in. We offer formatted fields, custom fields, as well as approval fields. This allows you to screen your visitors by asking them questions to determine if they are a safety risk to your business and can send alerts to your designated contact so they can take appropriate action.
If the account is subscribed to a multi-location plan, visitor fields can be set differently across the locations. For those subscribed to an Enterprise plan, you can also set different visitor fields by category.
Visitor field types:
Below we cover the visitor field types that are available on all SwipedOn plans. These fields are available for the company admin to set via the 'Settings' > 'Visitor Settings' > 'Fields' view of the SwipedOn web dashboard.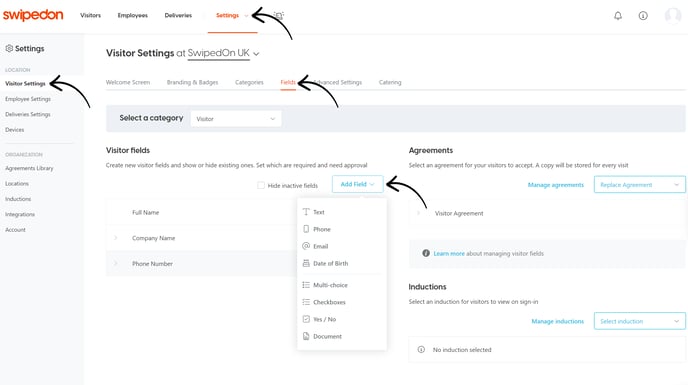
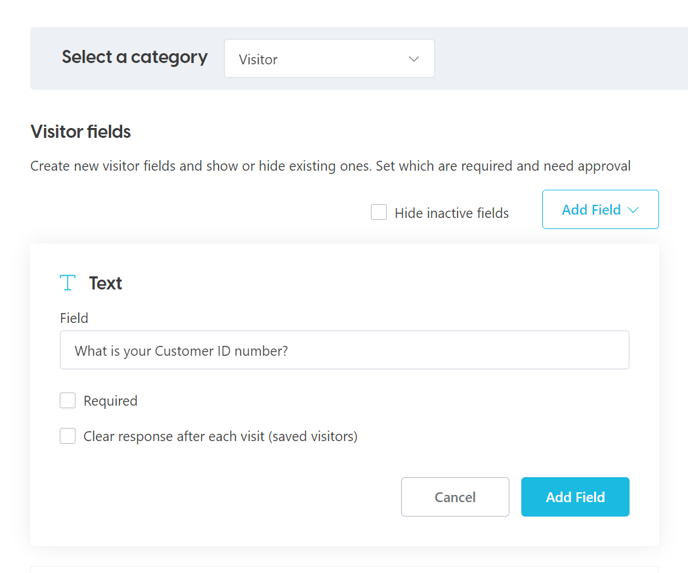
Text
The text field is best used when asking an open-ended question. The question here can be up to 256 characters in length. When the visitor taps on this field, the keyboard will pop up for them to enter their response.
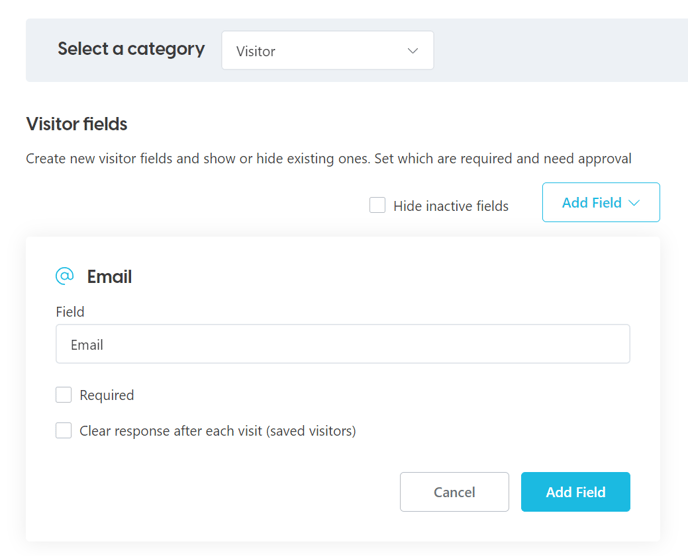
The email field is a formatted field that specifically only accepts email addresses. When the visitor taps on this field, the keyboard will pop up and they can type in their email address here.
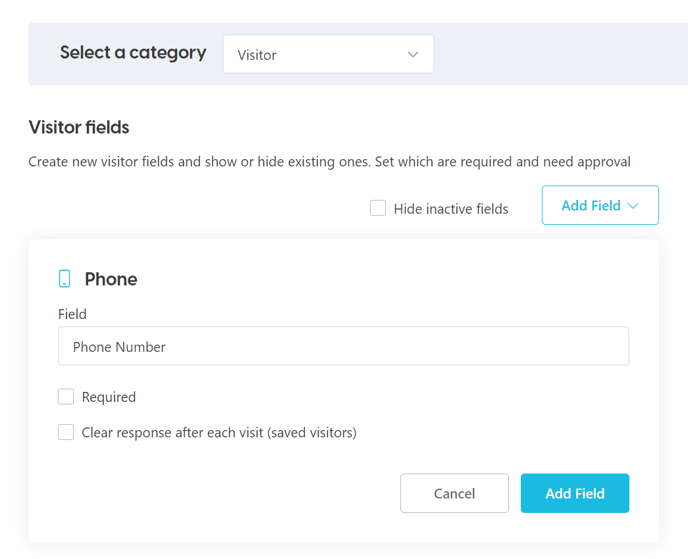
Phone
The phone field, like the email field, is formatted specifically to only accept a phone number. The phone prefix can be adjusted by tapping on the flag icon at the beginning of this field. Once the user taps on the phone field, the numerical keyboard will appear for the visitor to input their valid phone number.
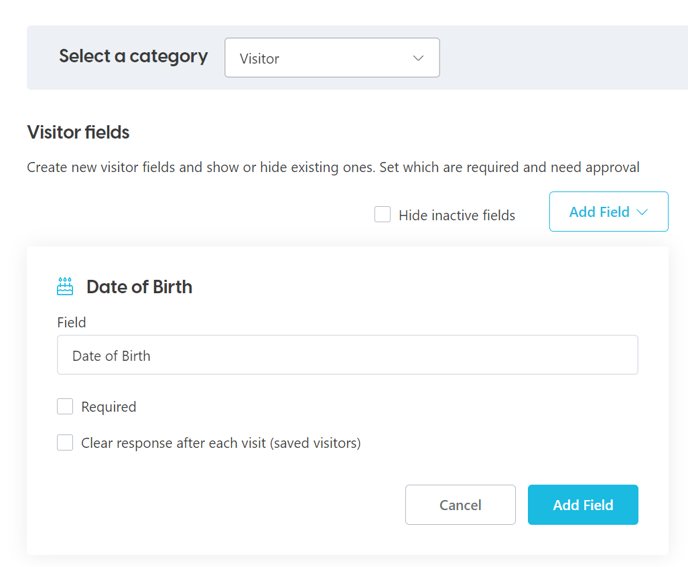
Date of Birth
The date of birth field is formatted for the visitor to select their birth date. A date selector will pop up for the visitor to select their birth year, then the month, and finally the day. This will then appear on the date of birth field as shown below with the date first, then the month and finally the year.
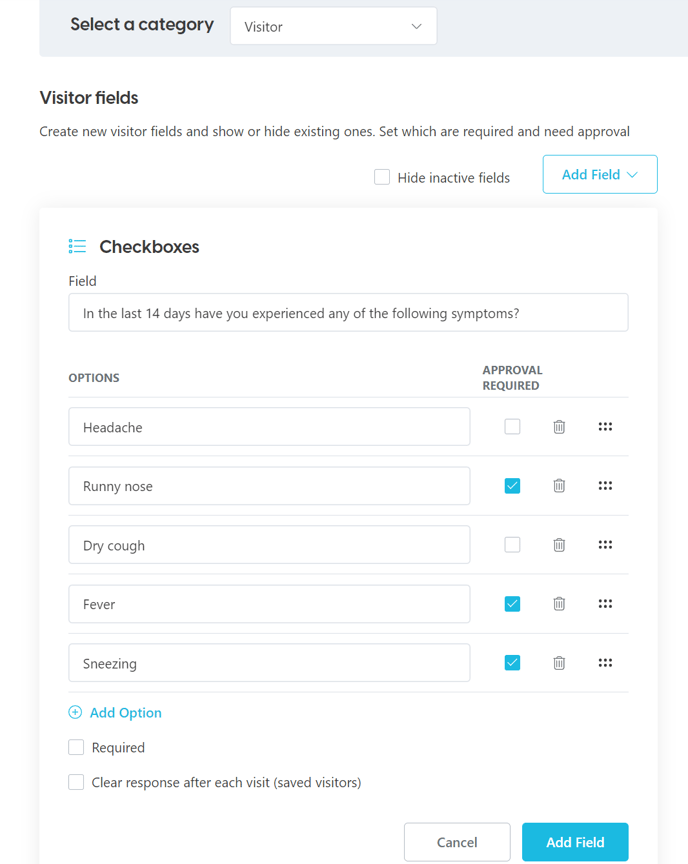
Checkboxes
The checkboxes field is used when more than one option may be available to the visitor to select from when answering this field. This is useful when you may have more than one option that is applicable to the fields question. Each option can be set to require approval, if selected.
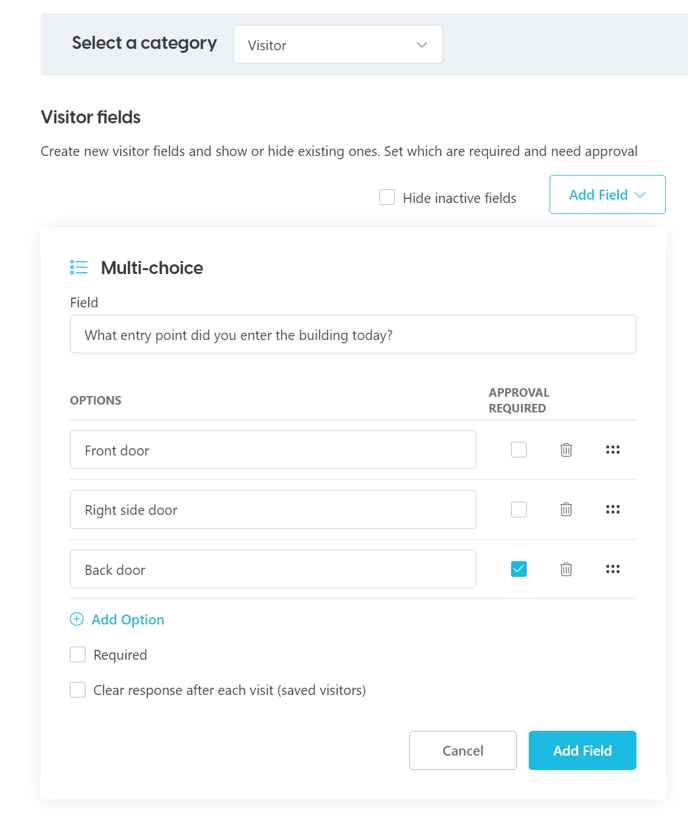
Multi-choice
The multi-choice field is presented with multiple options to select from when signing in. Using this field, the visitor can select from one of the options available, these options can also be set to require approval, if selected.
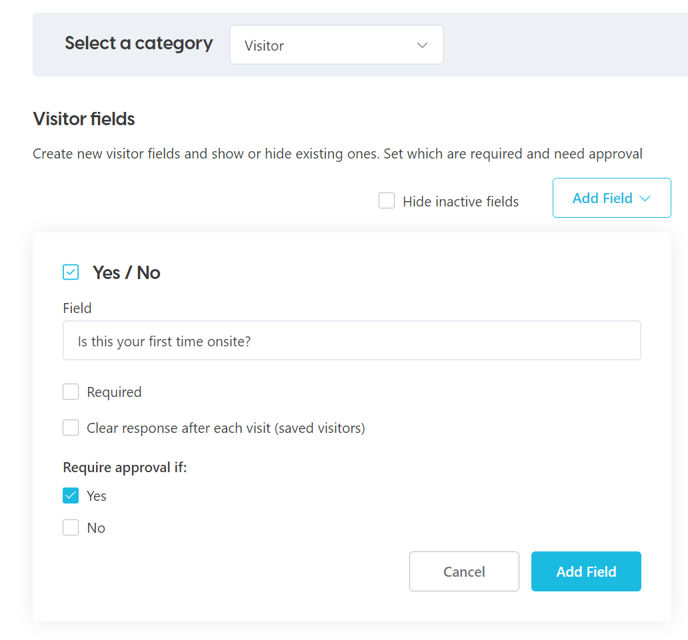
Yes/No
The Yes/No field provides the visitor with two options to select from to answer this question, those being yes or no. This field is useful when multiple options may not be necessary. The visitor can instead just select the answer applicable to them. The answer selected can also result in approval being required, if set up by the company admin. This field will allow for a maximum of 256 characters.
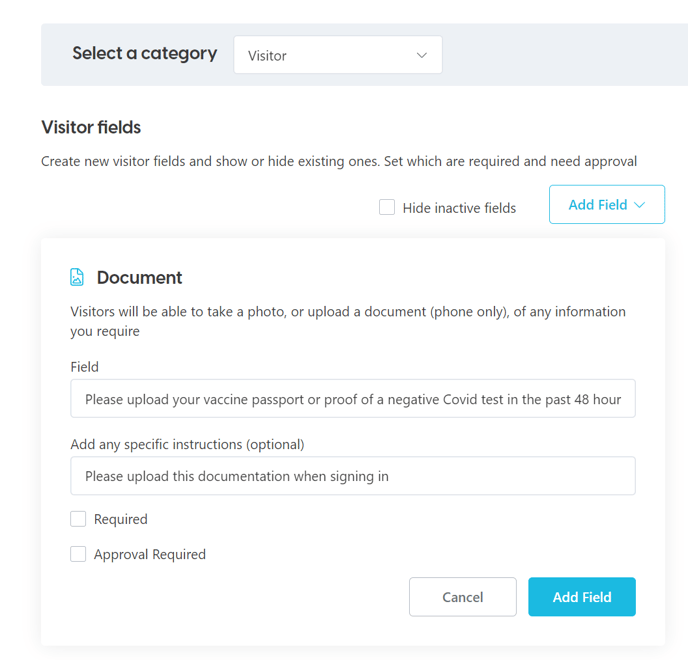
The document support field provides the visitor with the option to upload a document or image when signing in. Along with having the ability to set this as a required field, this field can also trigger an approval notification, if this option is enabled. This field allows for a maximum of 256 characters in the header and sub-header.
Example of an approval notification
The admins at the location will receive an email notification as shown below. This provides the admin with the field and the visitor's answer that requires approval.
As you can see when a checkbox field triggers approval, it alerts the admin to the answer that triggered approval with a red cross next to the applicable options.
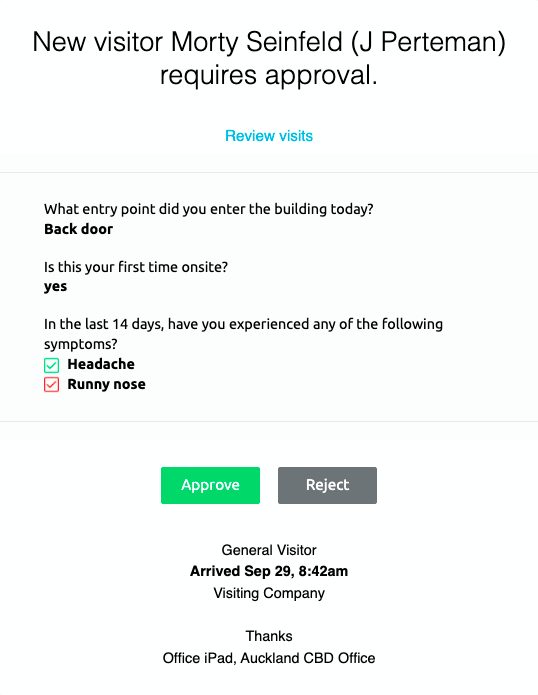
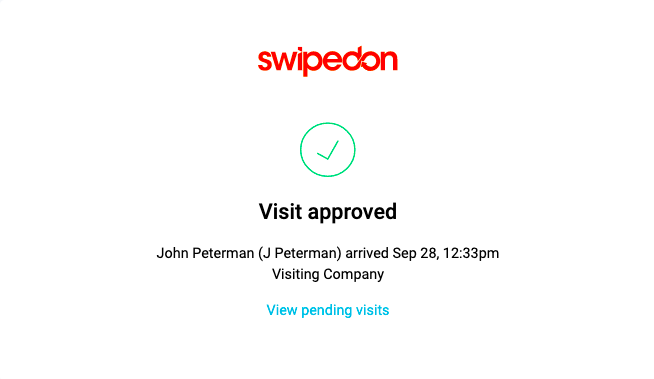
The admin can then approve or reject the visit by selecting one of the above options. If approved, the admin will see the below screen when 'Approve' is clicked on, and the host (if selected) will then receive the usual email notification of their visitor's arrival.
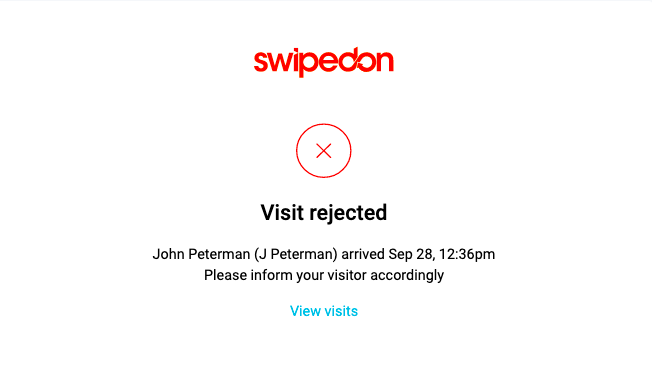
If rejected, the admin will see the below screen when 'Reject' is selected. The admin will then need to notify the visitor and can ask them to kindly reschedule and return at a later date - whatever your company protocol is for denying entry to high-risk individuals.
If you would like a copy of the approval notification to send to a recipient that is not listed as an admin, you can check out our visitor approval alerts support article.