🏳️ Available for Standard, Premium and Enterprise
For those subscribed to our Standard, Premium or Enterprise plans, we offer the ability to add additional locations to the subscription. It is a very simple process that we will guide you through in more detail below.
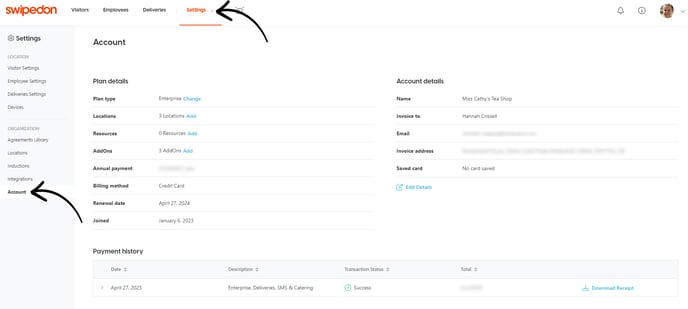
How to upgrade your account
-
Log into the SwipedOn web dashboard and navigate to the 'Account' view.
-
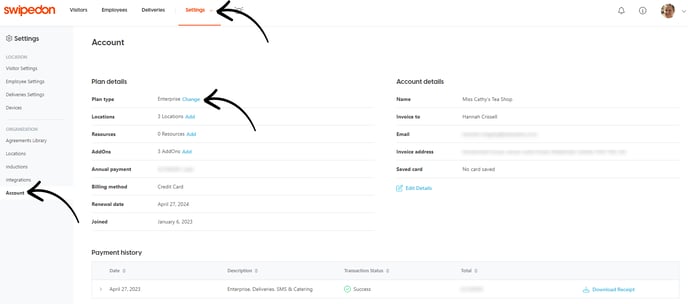
Then click on 'Change' next to the plan type.
-
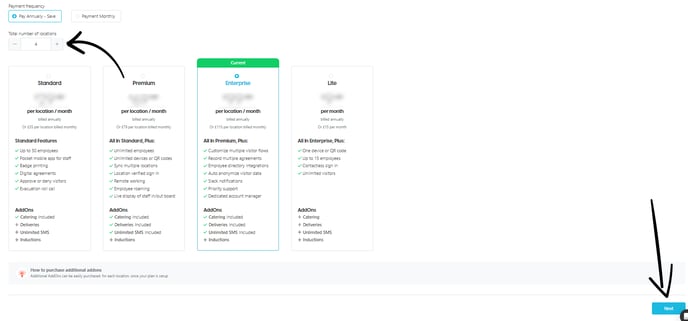
Click on the plus button to add additional locations to your subscription. Once you've entered the number of locations you would like to add, click 'Next'.
-
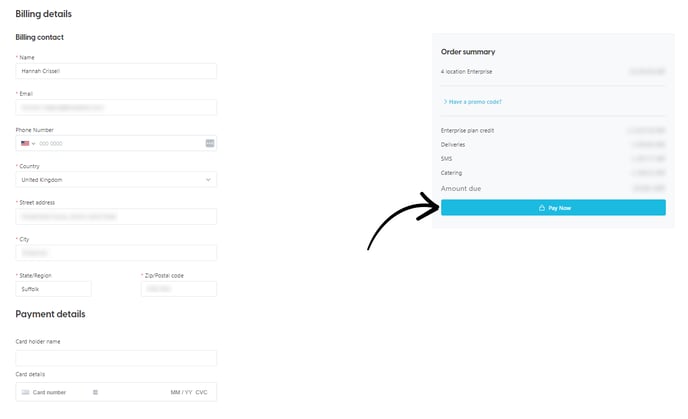
Enter your details and click 'Pay Now'.
How to configure new locations on a multi-location plan
Once subscribed to a multi-location Standard, Premium or Enterprise plan, new locations can be added and managed from within your SwipedOn web dashboard. See the below steps to add a new location and device to the SwipedOn account.
Adding a new location
-
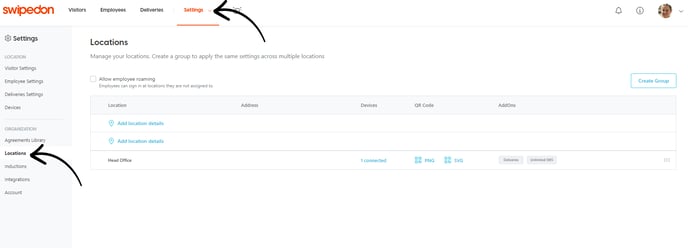
Navigate to the 'Locations' view within the SwipedOn web dashboard.
-
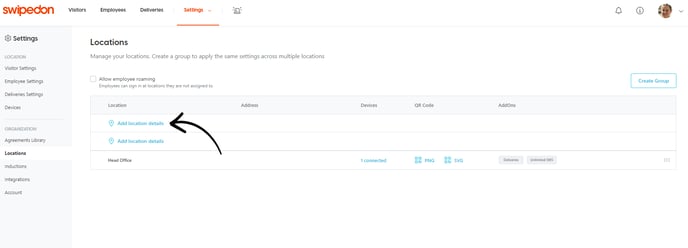
Click the 'Add location details' button to open the drawer.
-
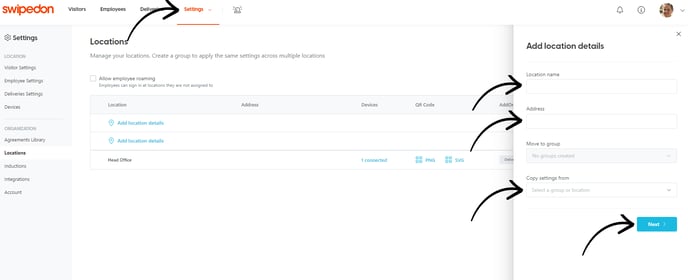
Enter the new location's name, and, if applicable, what location settings will be applied. Lastly input an address and click the 'Next' button.
Linking a device
-
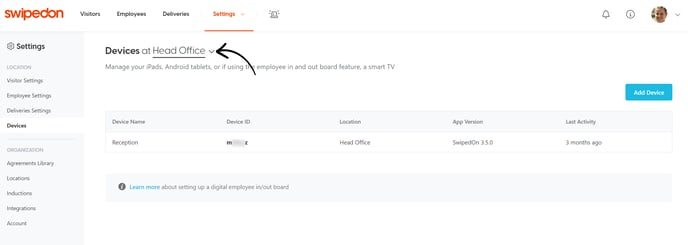
Navigate to the 'Settings' > 'Devices' view on the SwipedOn Dashboard.

-
Make sure you have selected the right location from the Location Selector dropdown, as shown below.
-
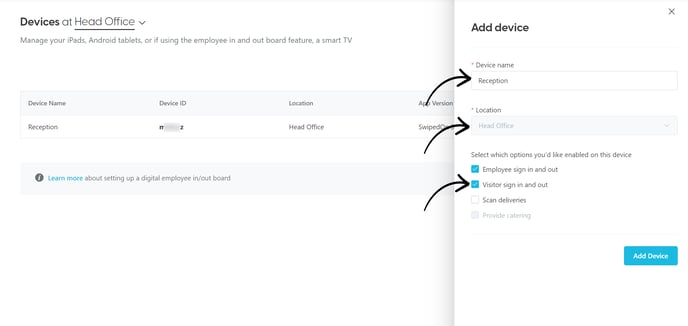
Click on the blue 'Add Device' button and enter the name of the device, select the correct location and select the options you would like enabled on this device.
-
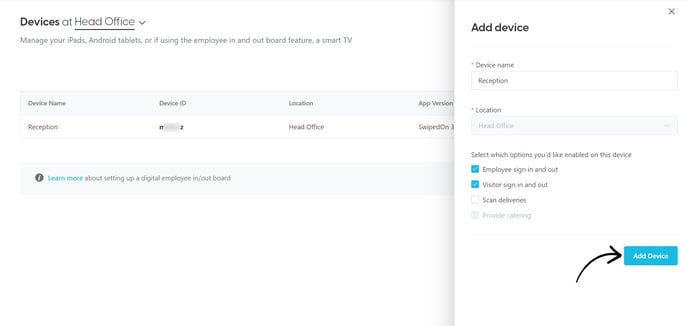
Click on the 'Add Device' button to generate a new device ID that will show listed below the location it has been assigned to.
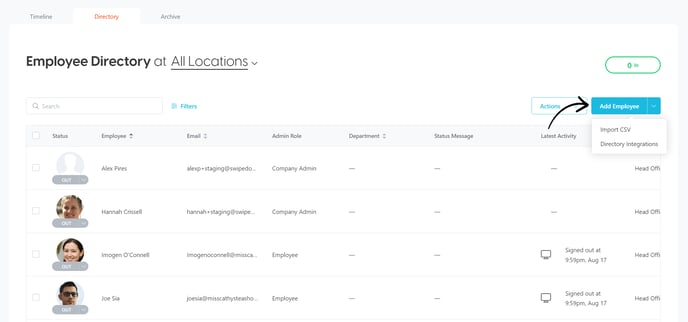
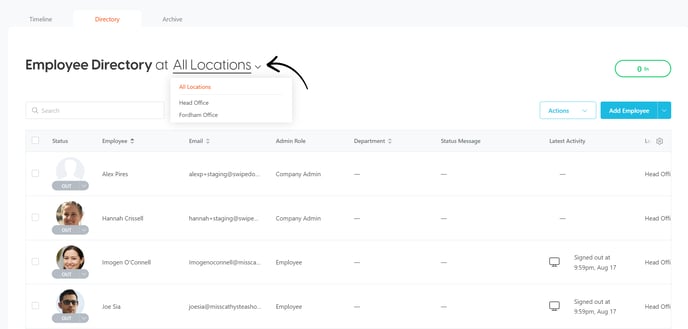
Upload Employees to the new Location
-
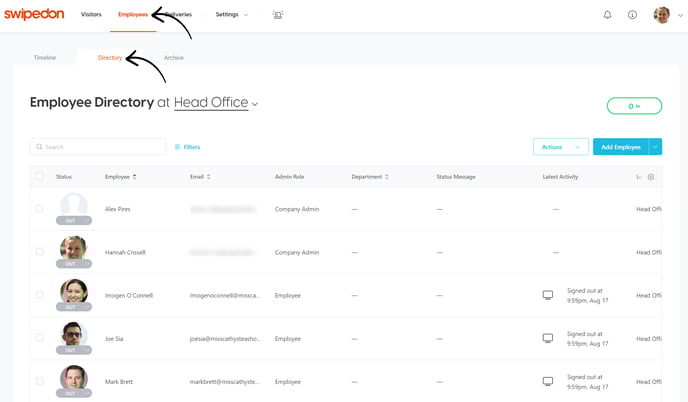
Click on the 'Employees' view and navigate to the 'Directory' tab.
-
Filter the view so that only the new location is visible by clicking on the 'All Locations' drop-down box and selecting the location these employees will be added against.
- Click on the 'Add Employee' button and select from the 'Add employee' or 'Import CSV' options.