🏳️ Available for Standard, Premium and Enterprise
Once subscribed to a multi-location Standard, Premium or Enterprise plan, new locations can be added and managed from within your SwipedOn web dashboard. See the below steps to add a new location and device to the SwipedOn account.
Adding a new location
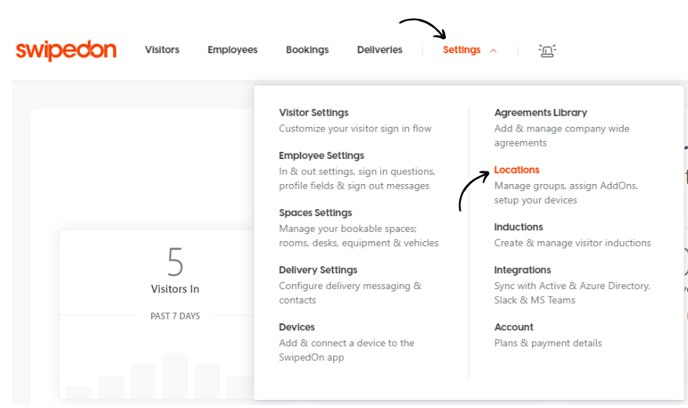
- Navigate to the 'Settings' > 'Locations' view within the SwipedOn web dashboard
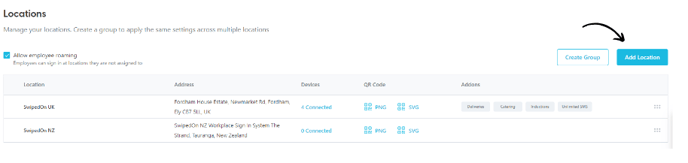
- Click 'Add Location'
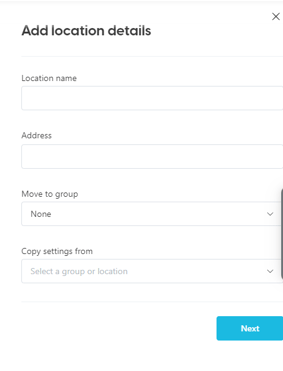
- Enter the name of this location and what location settings will be applied to the newly created location.
-
Set an address, and this will automatically set the timezone for this location based on the address. If you have groups set up within your account you will also be asked if you would like to include this location in a particular group or not. You can also copy settings from an already set up location or group.
-
Finally, click on the 'Next' button to apply the new location.
 You will from here be given the option to purchase AddOns for this location if you haven't already. Click 'Buy Now' and your new location will now be visible in the 'Locations' tab.
Linking a device to this new location
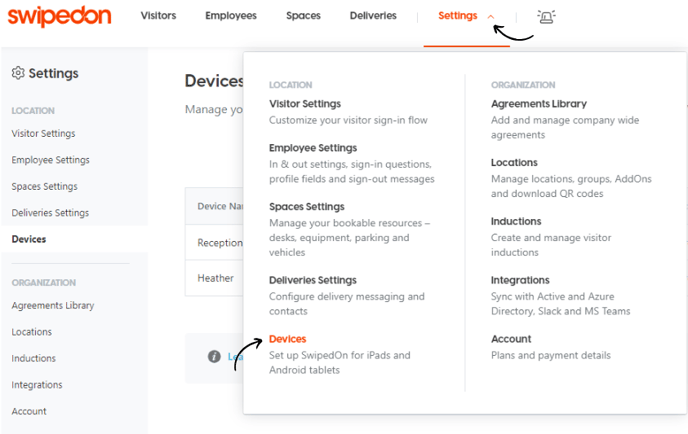
- Navigate to 'Settings' > 'Devices' from within the SwipedOn Dashboard.
-
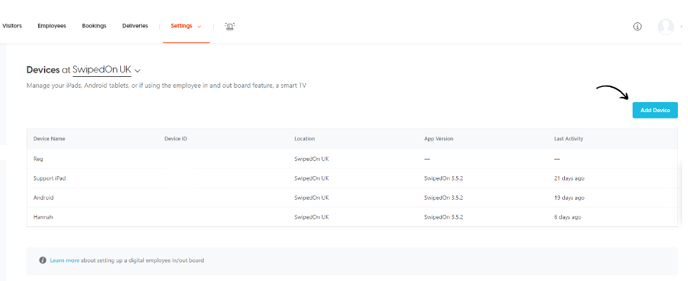
Ensure your location selector is set for the particular location you're wanting to set up a new device at and click on the 'Add Device' button.
- This will open a drawer on the right hand side of the page where you can create a Device name, and then select which options you'd like enabled on this device. Then click 'Add Device' to finish setting this up.
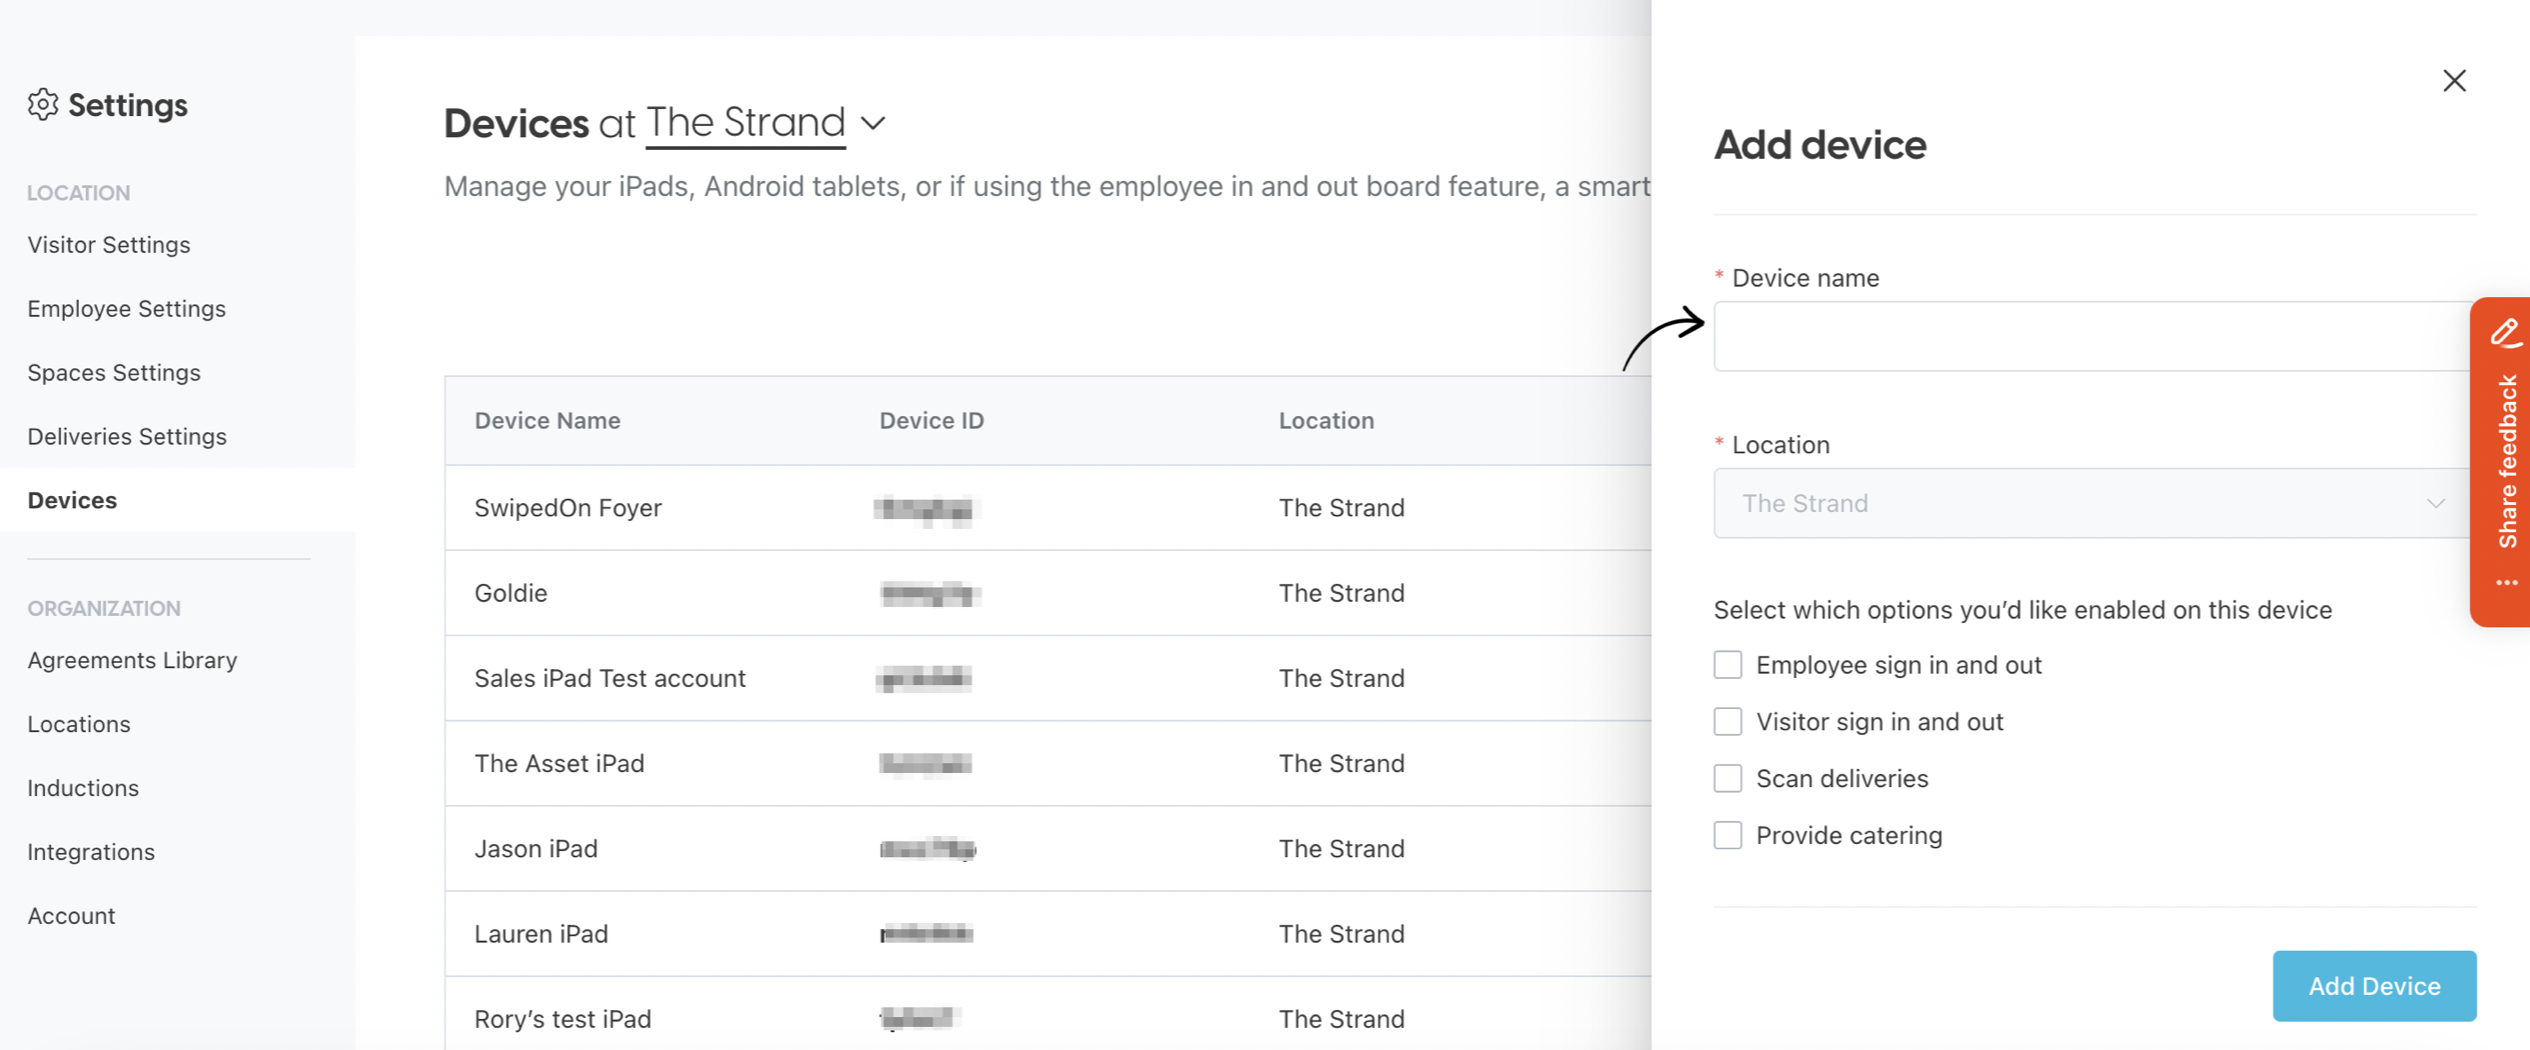
- This new device will then show on the table on the Devices page along with a unique Device ID. Install the SwipedOn iOS or Android app on the iPad or tablet and enter the unique device ID to sync the app to the web dashboard.
Upload Employees to the new Location
-
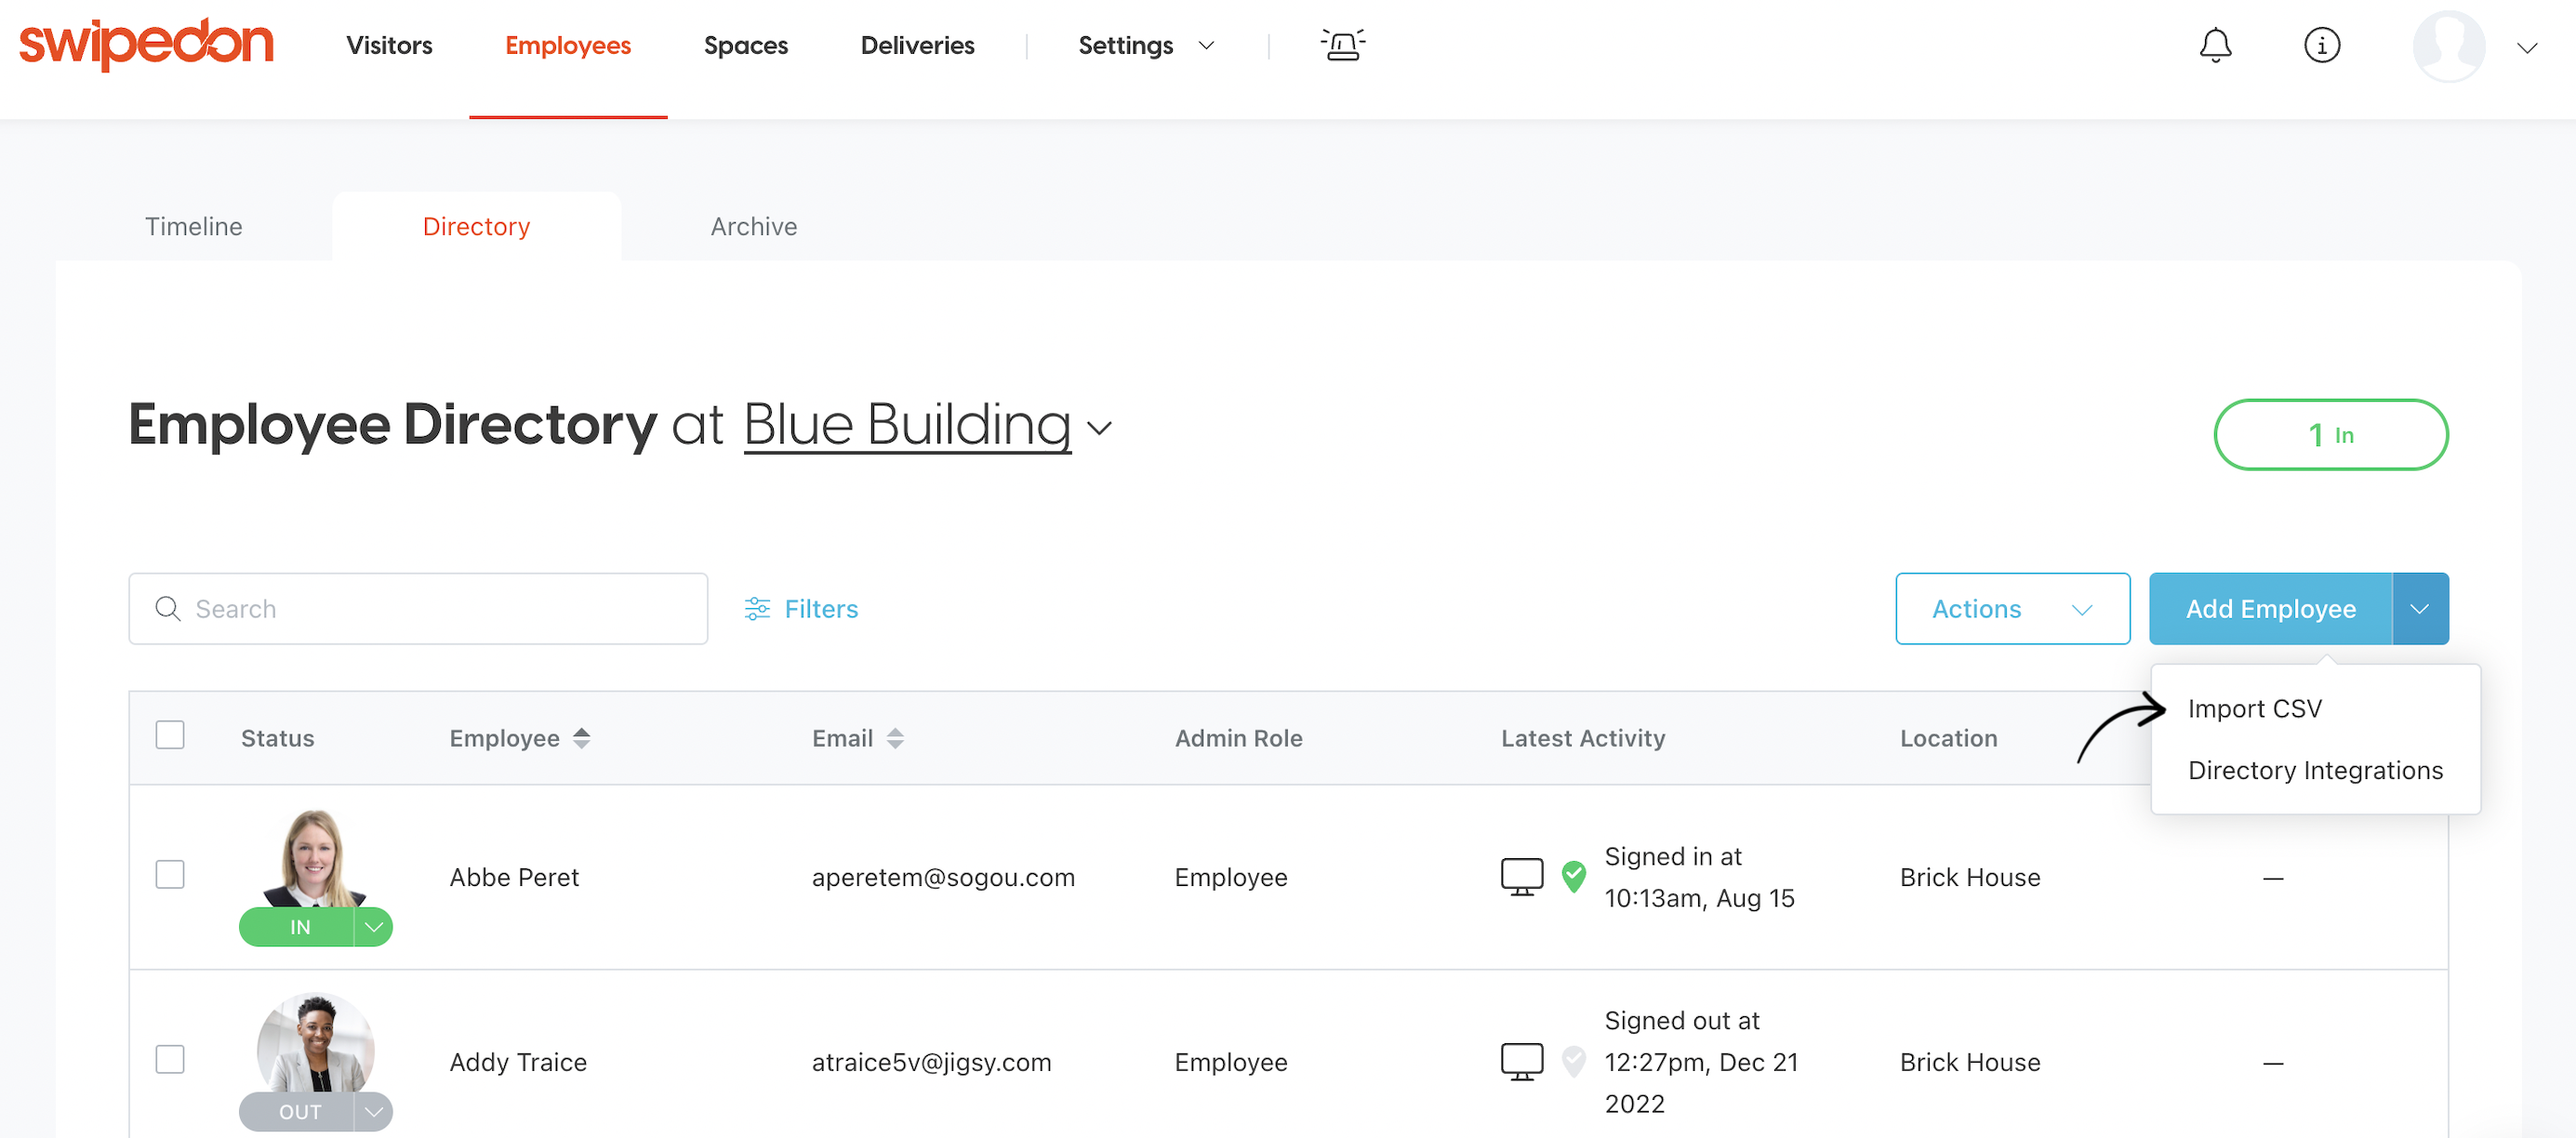
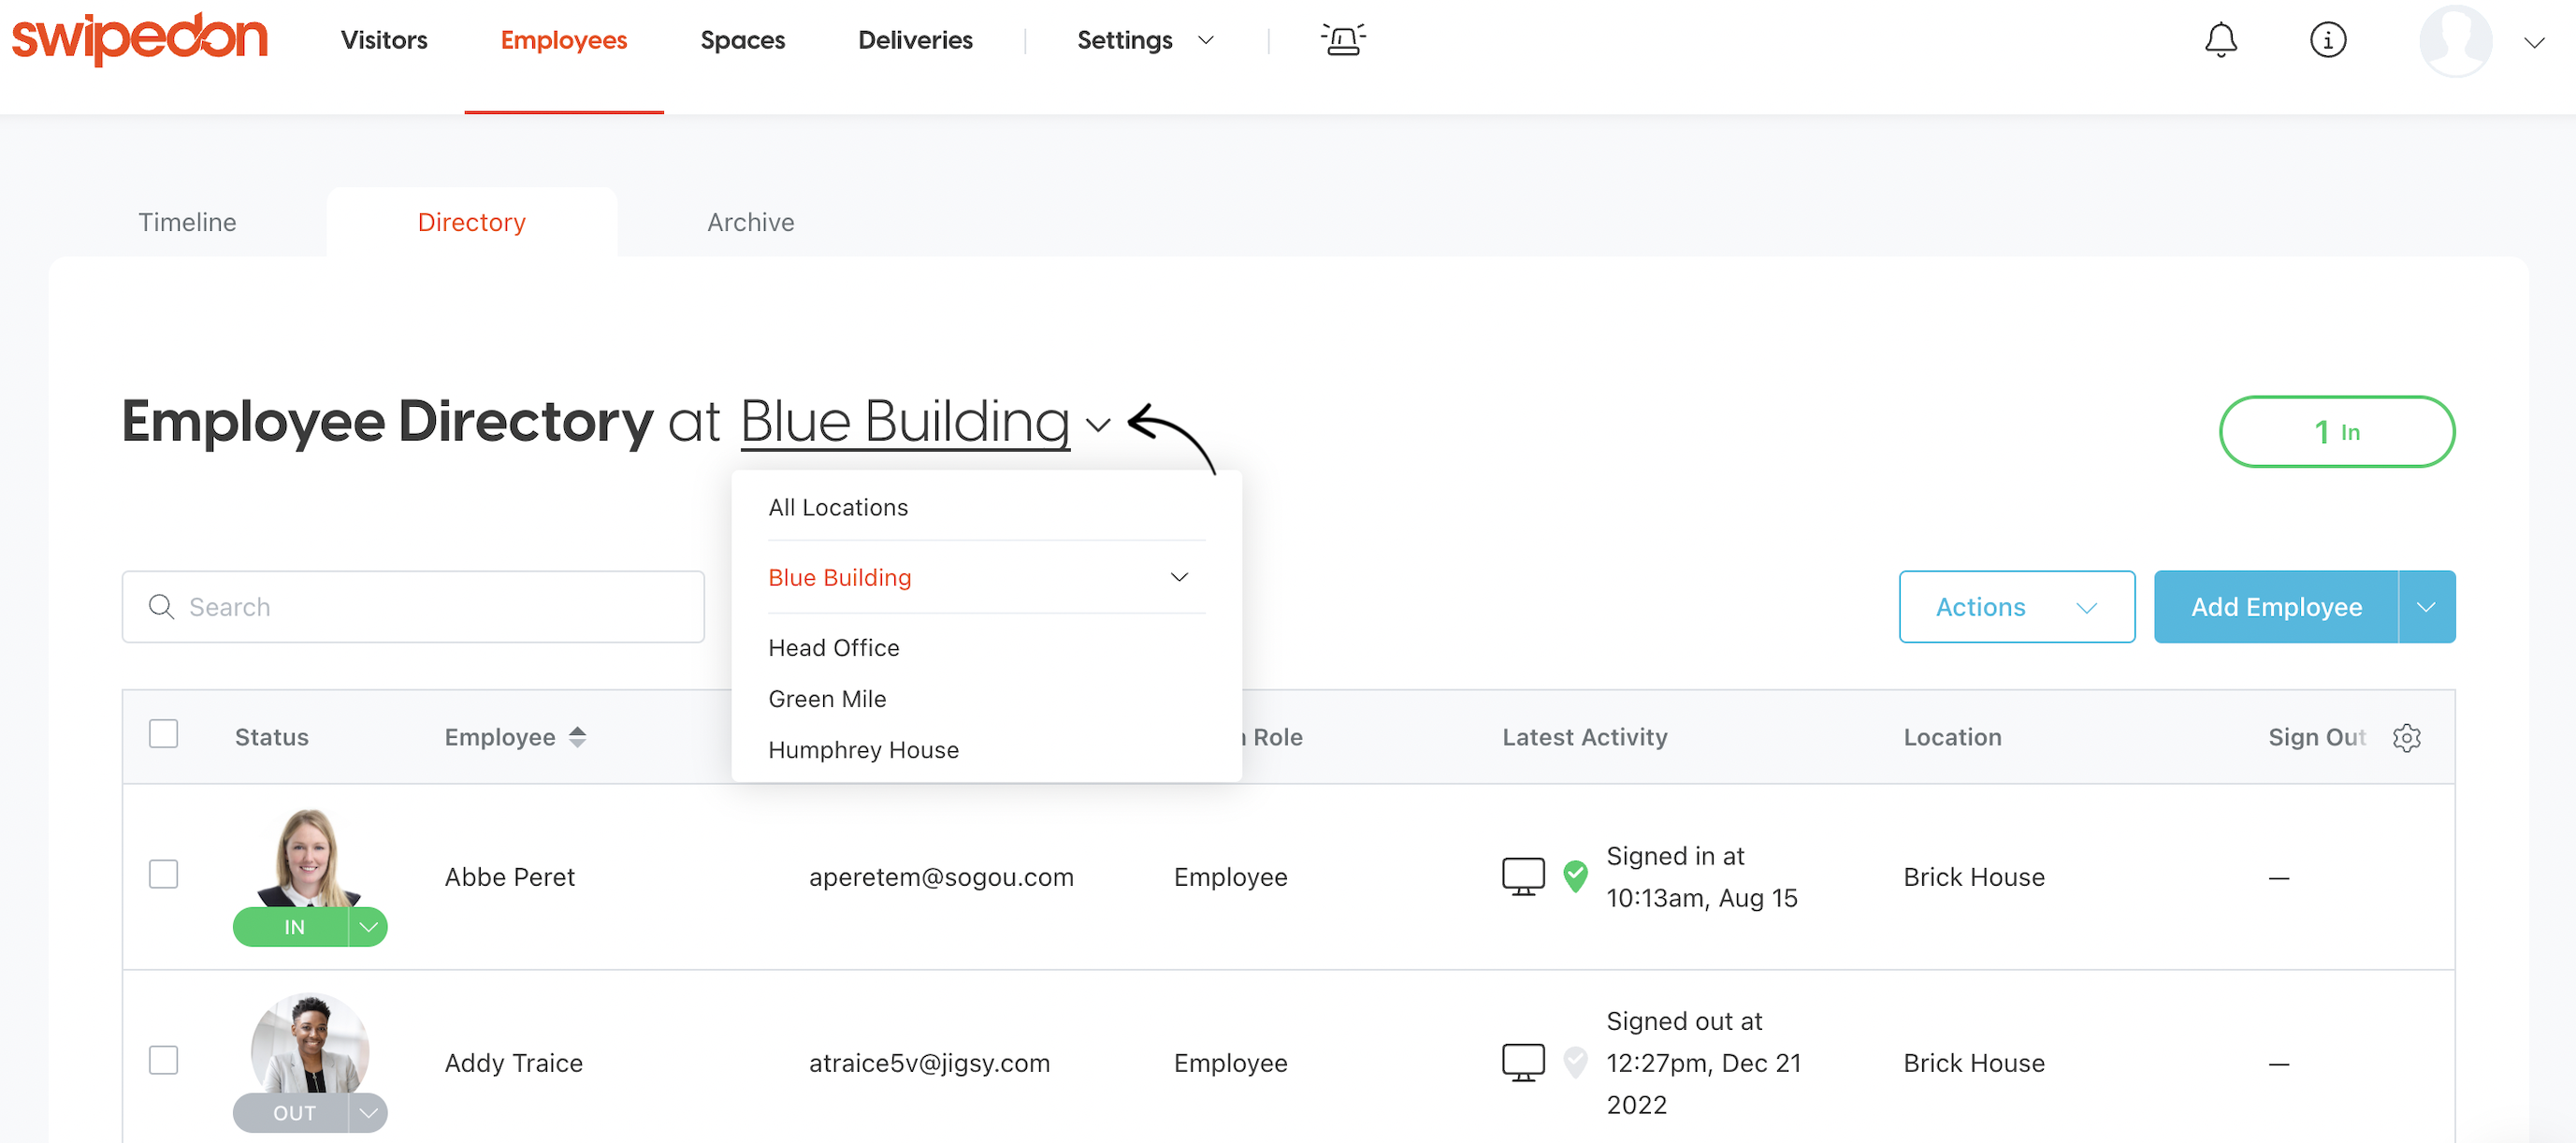
Click on 'Employees' from the top nav of the SwipedOn web dashboard and you will be taken to the 'Directory' view. From the location selector dropdown select the location these employees will be added to.
- Click on the 'Add Employee' button to add employees one at a time. Alternatively, click on the drop-down arrow to the right of this button and select from the 'Import CSV' or 'Directory Integrations' options.